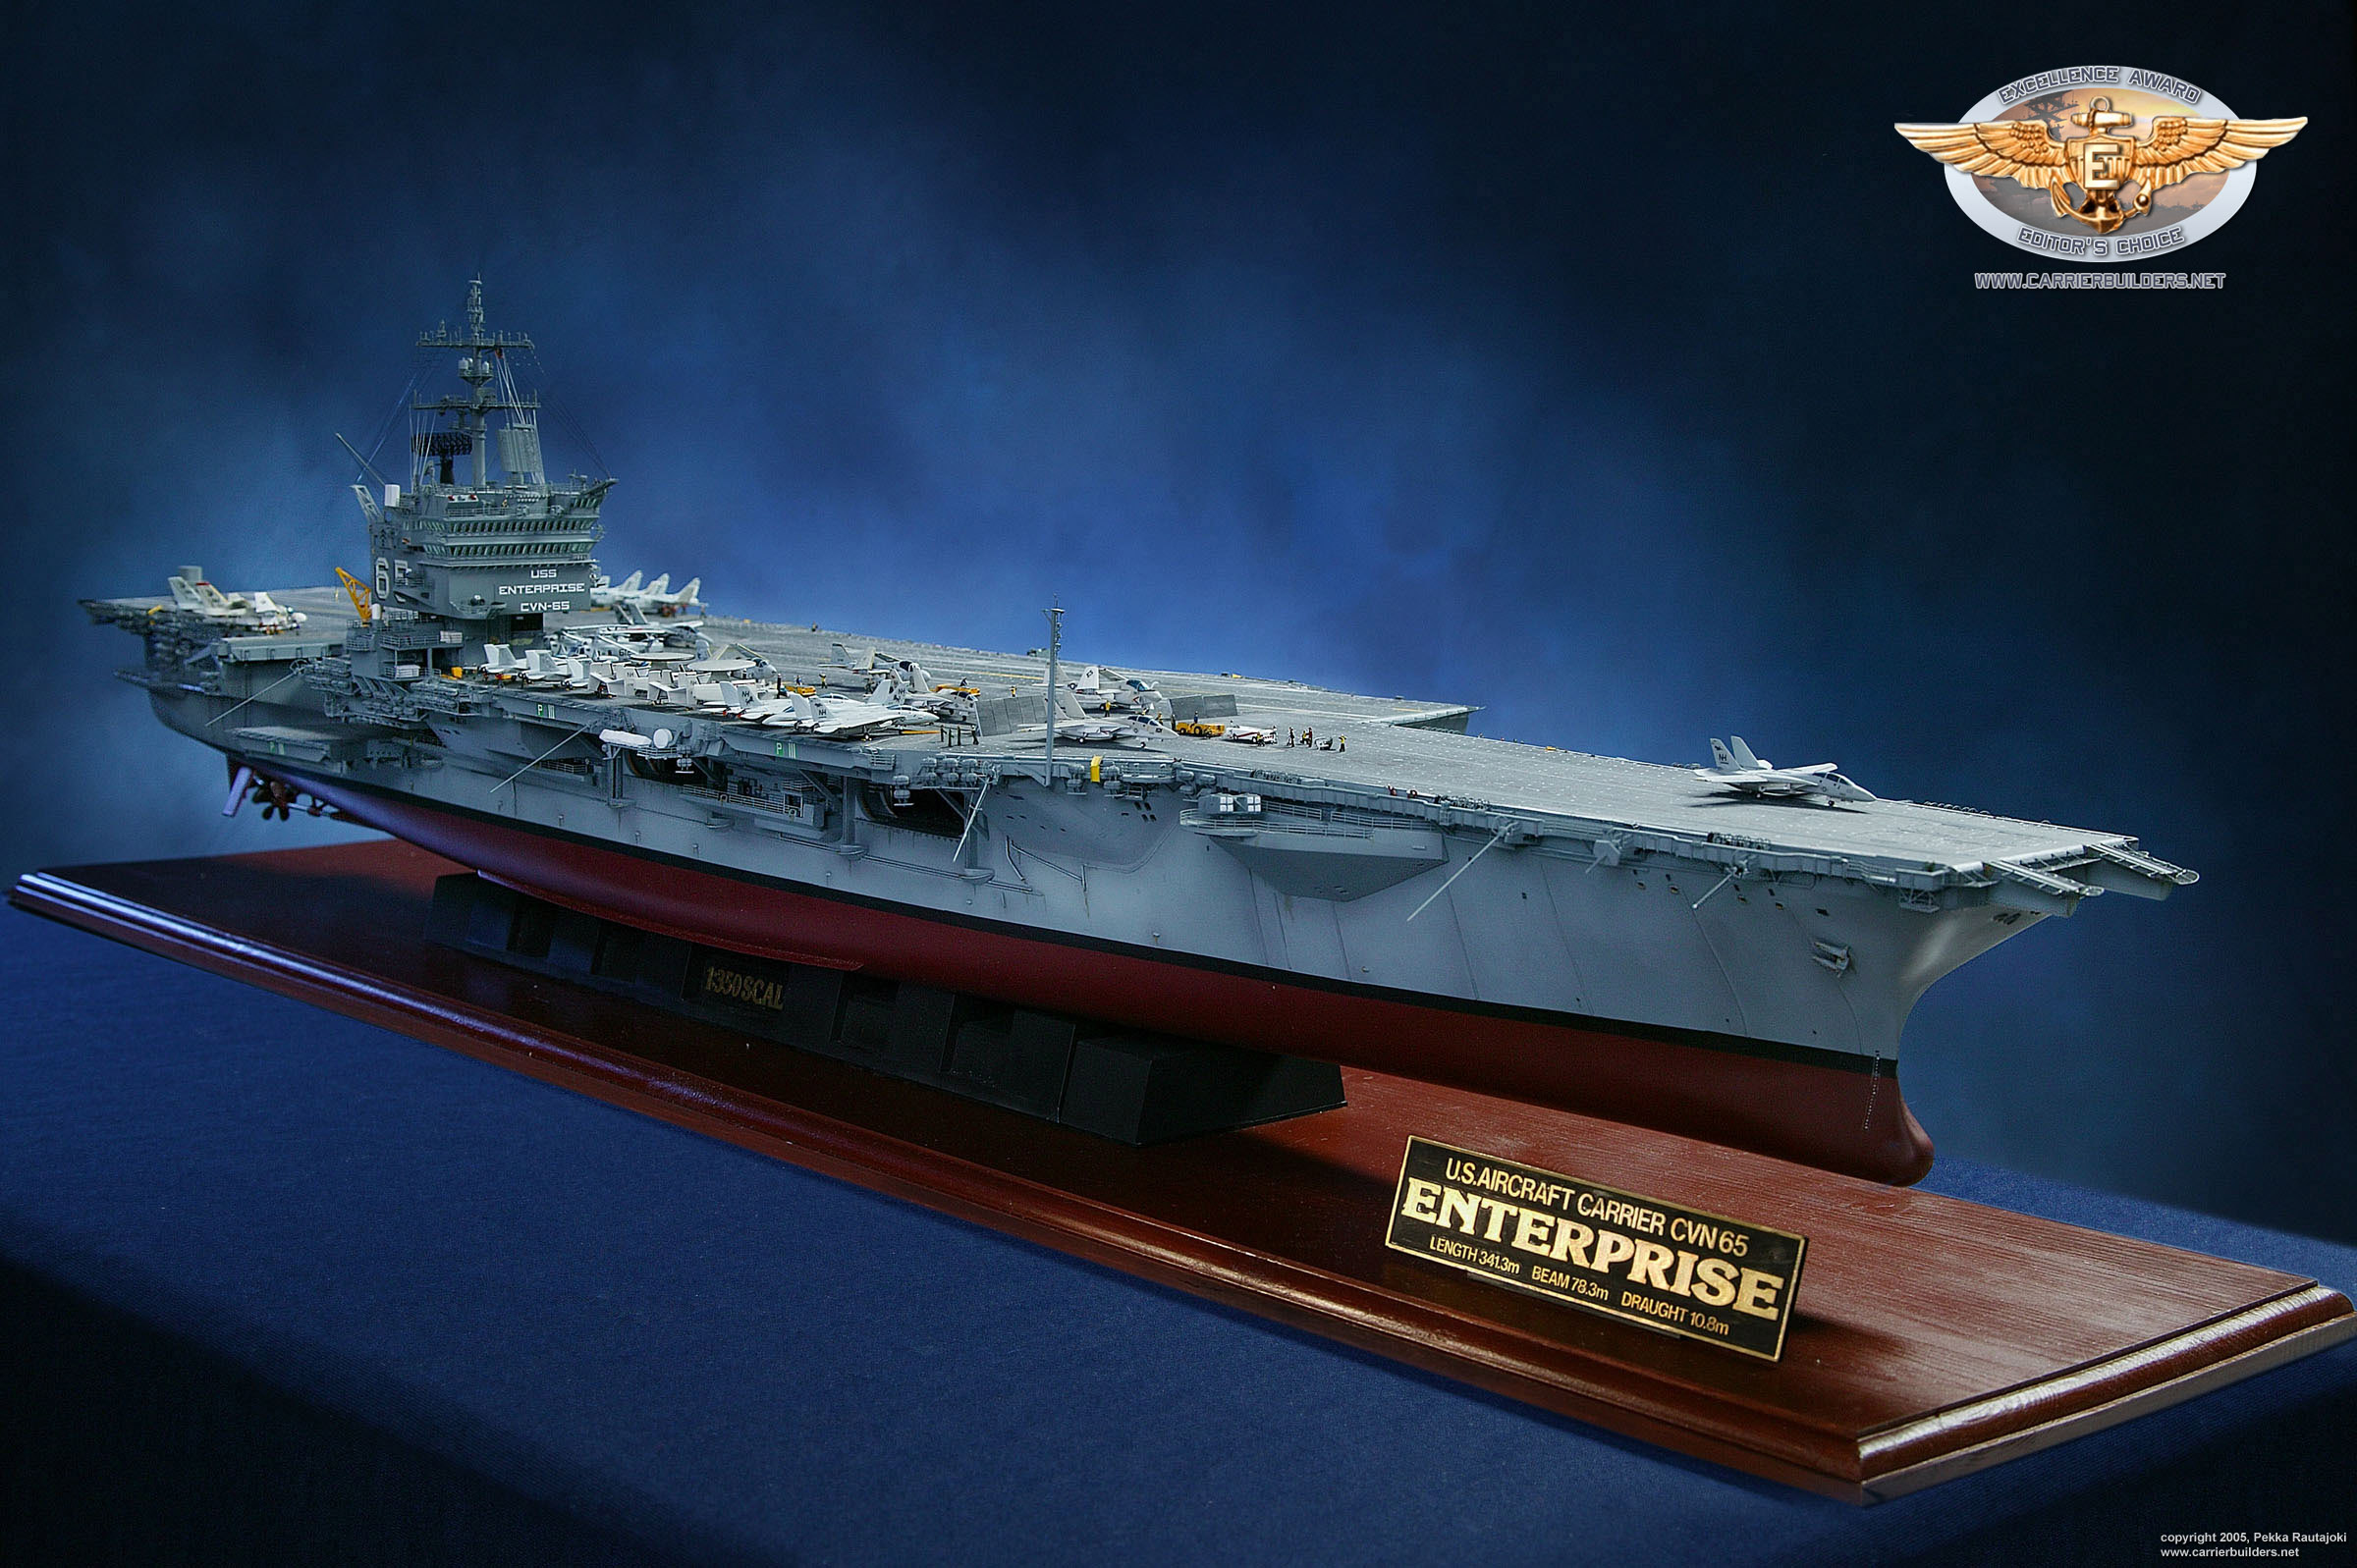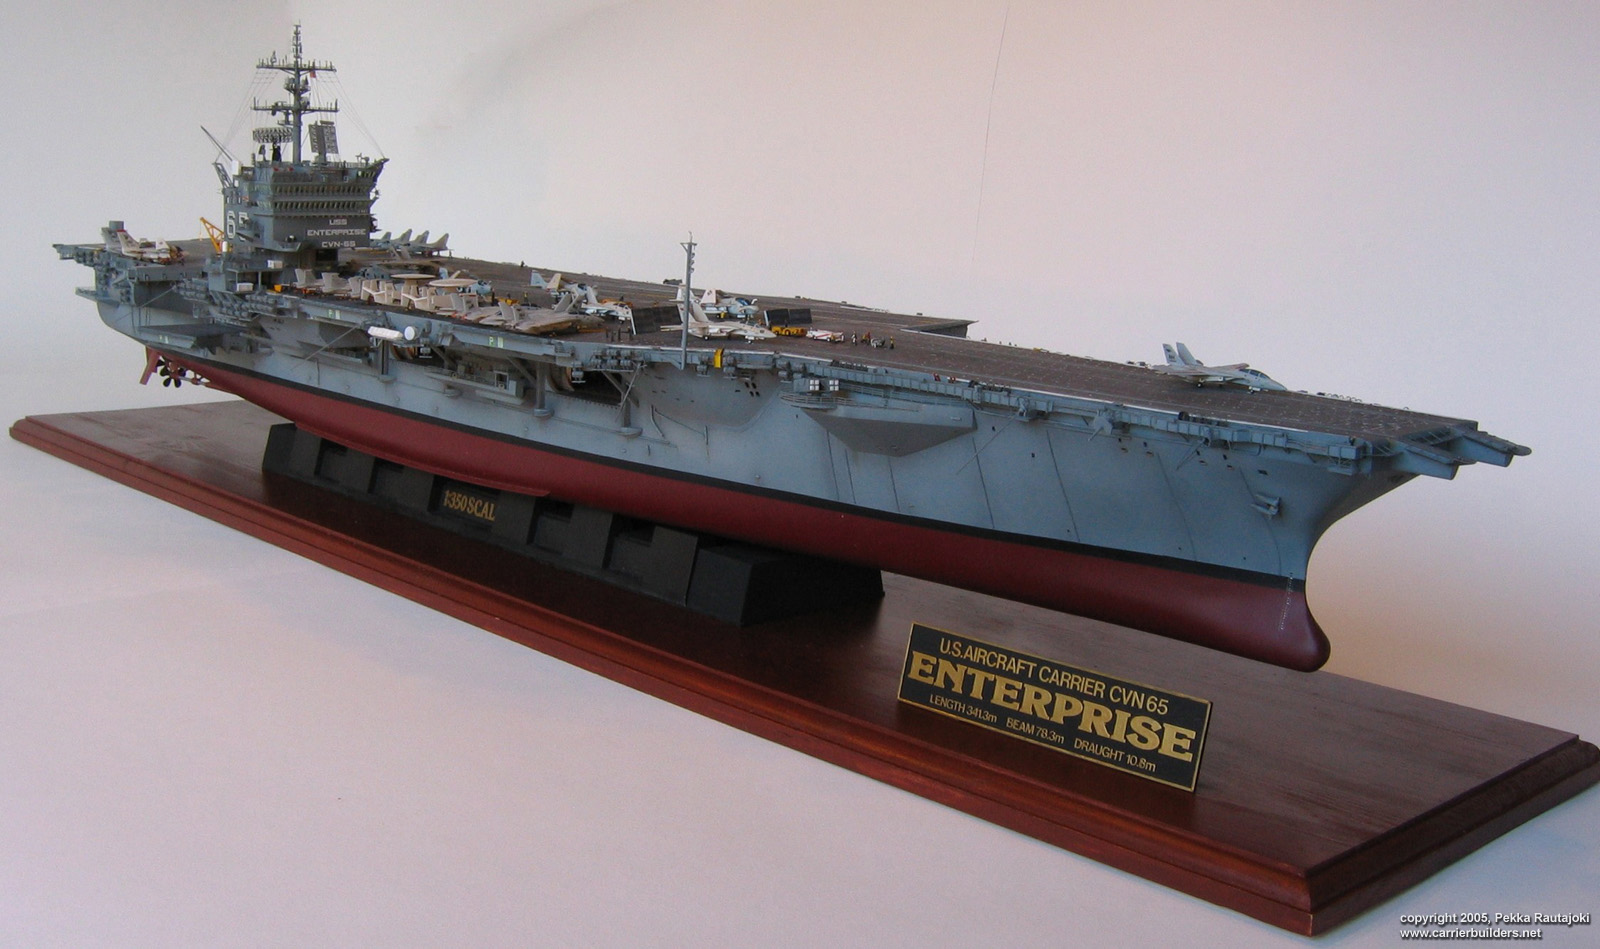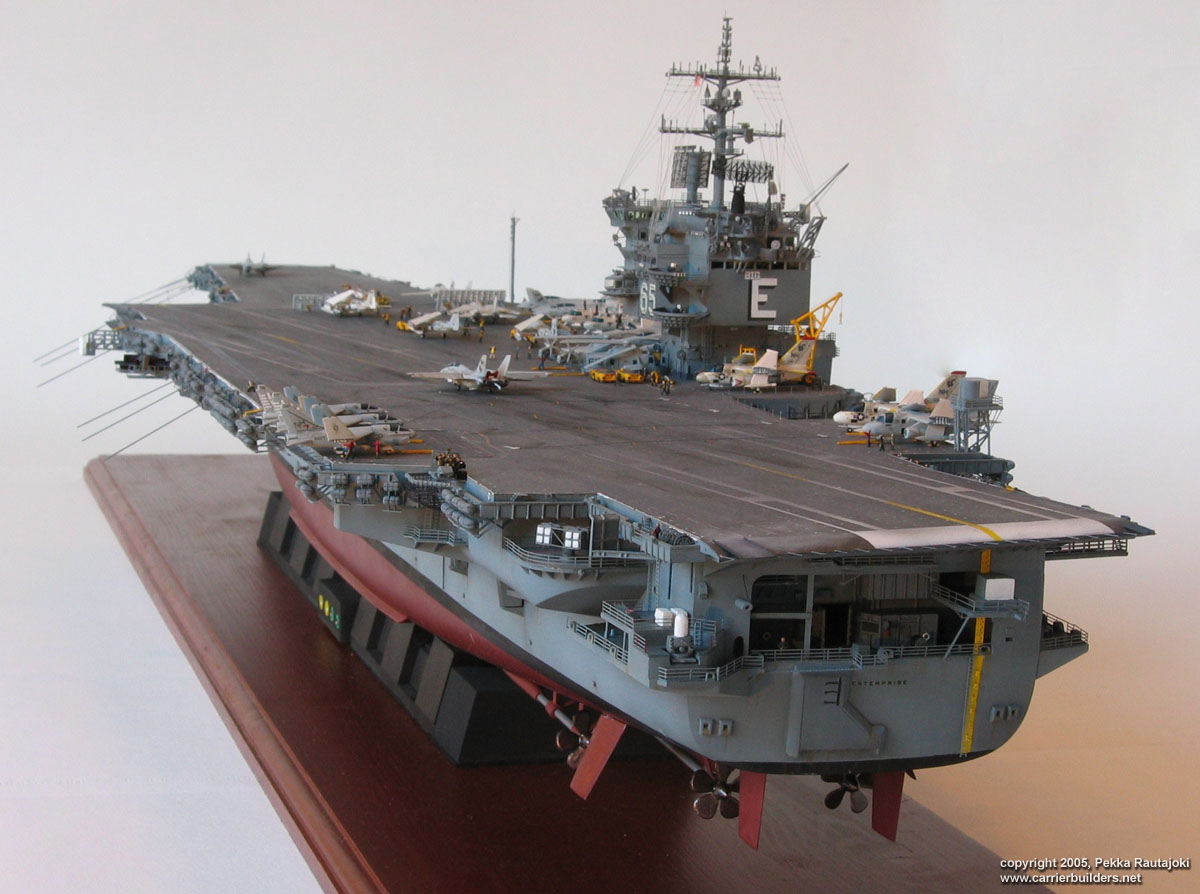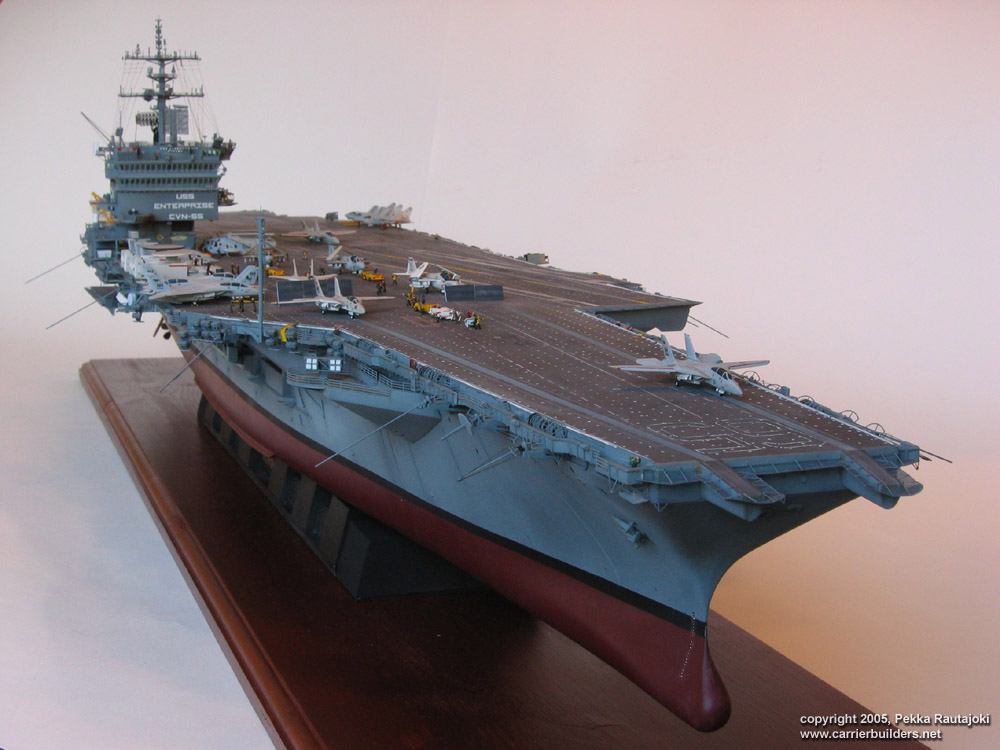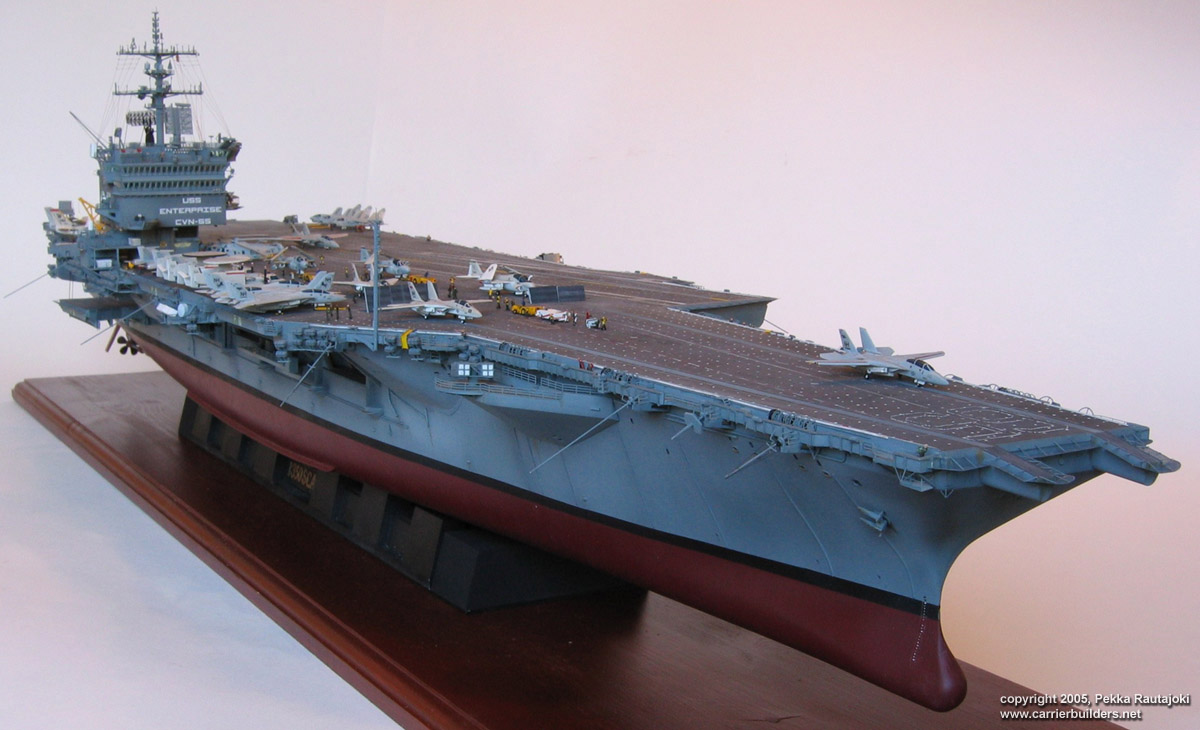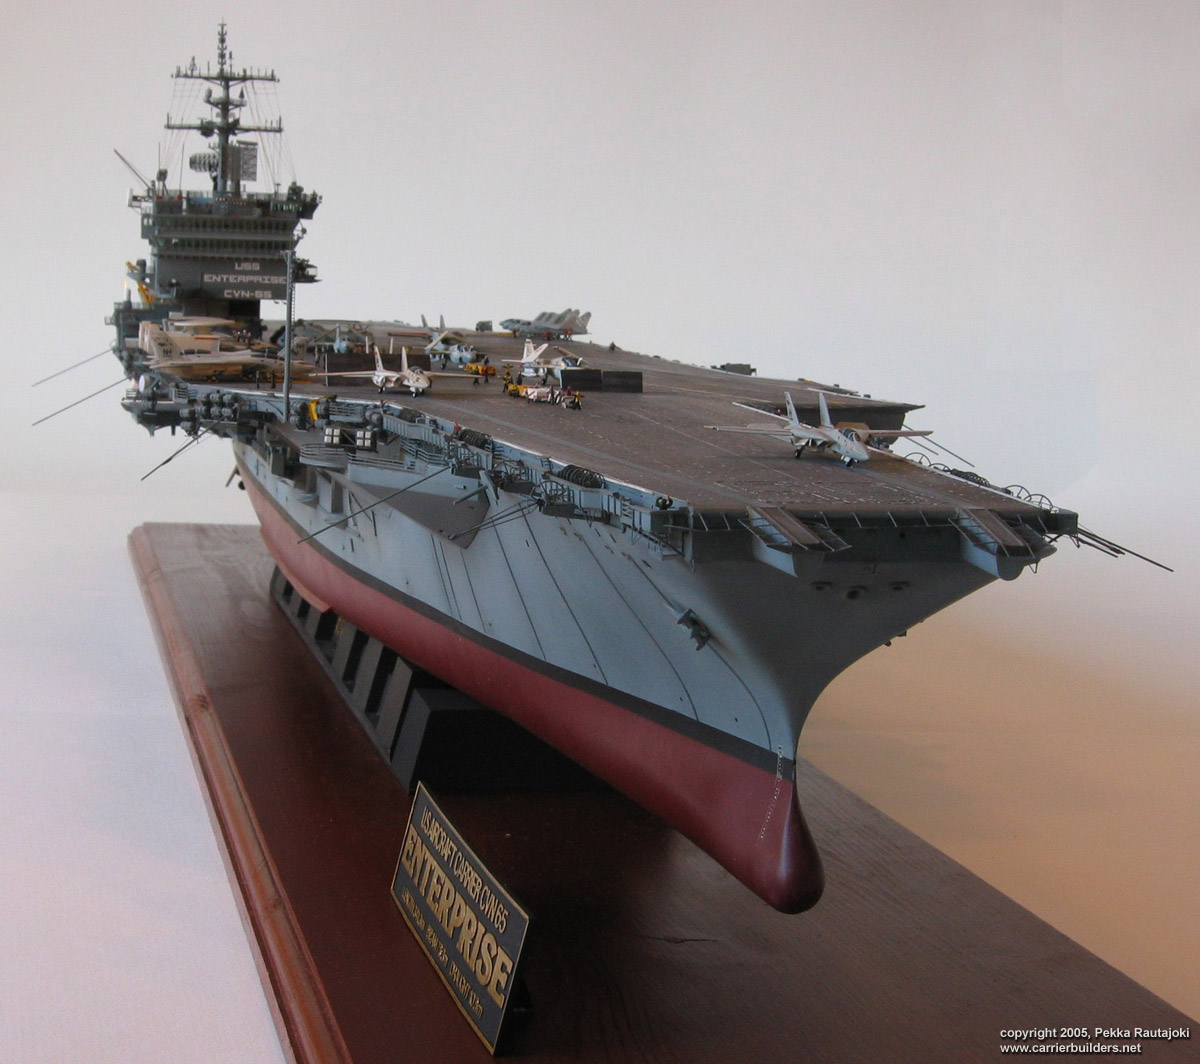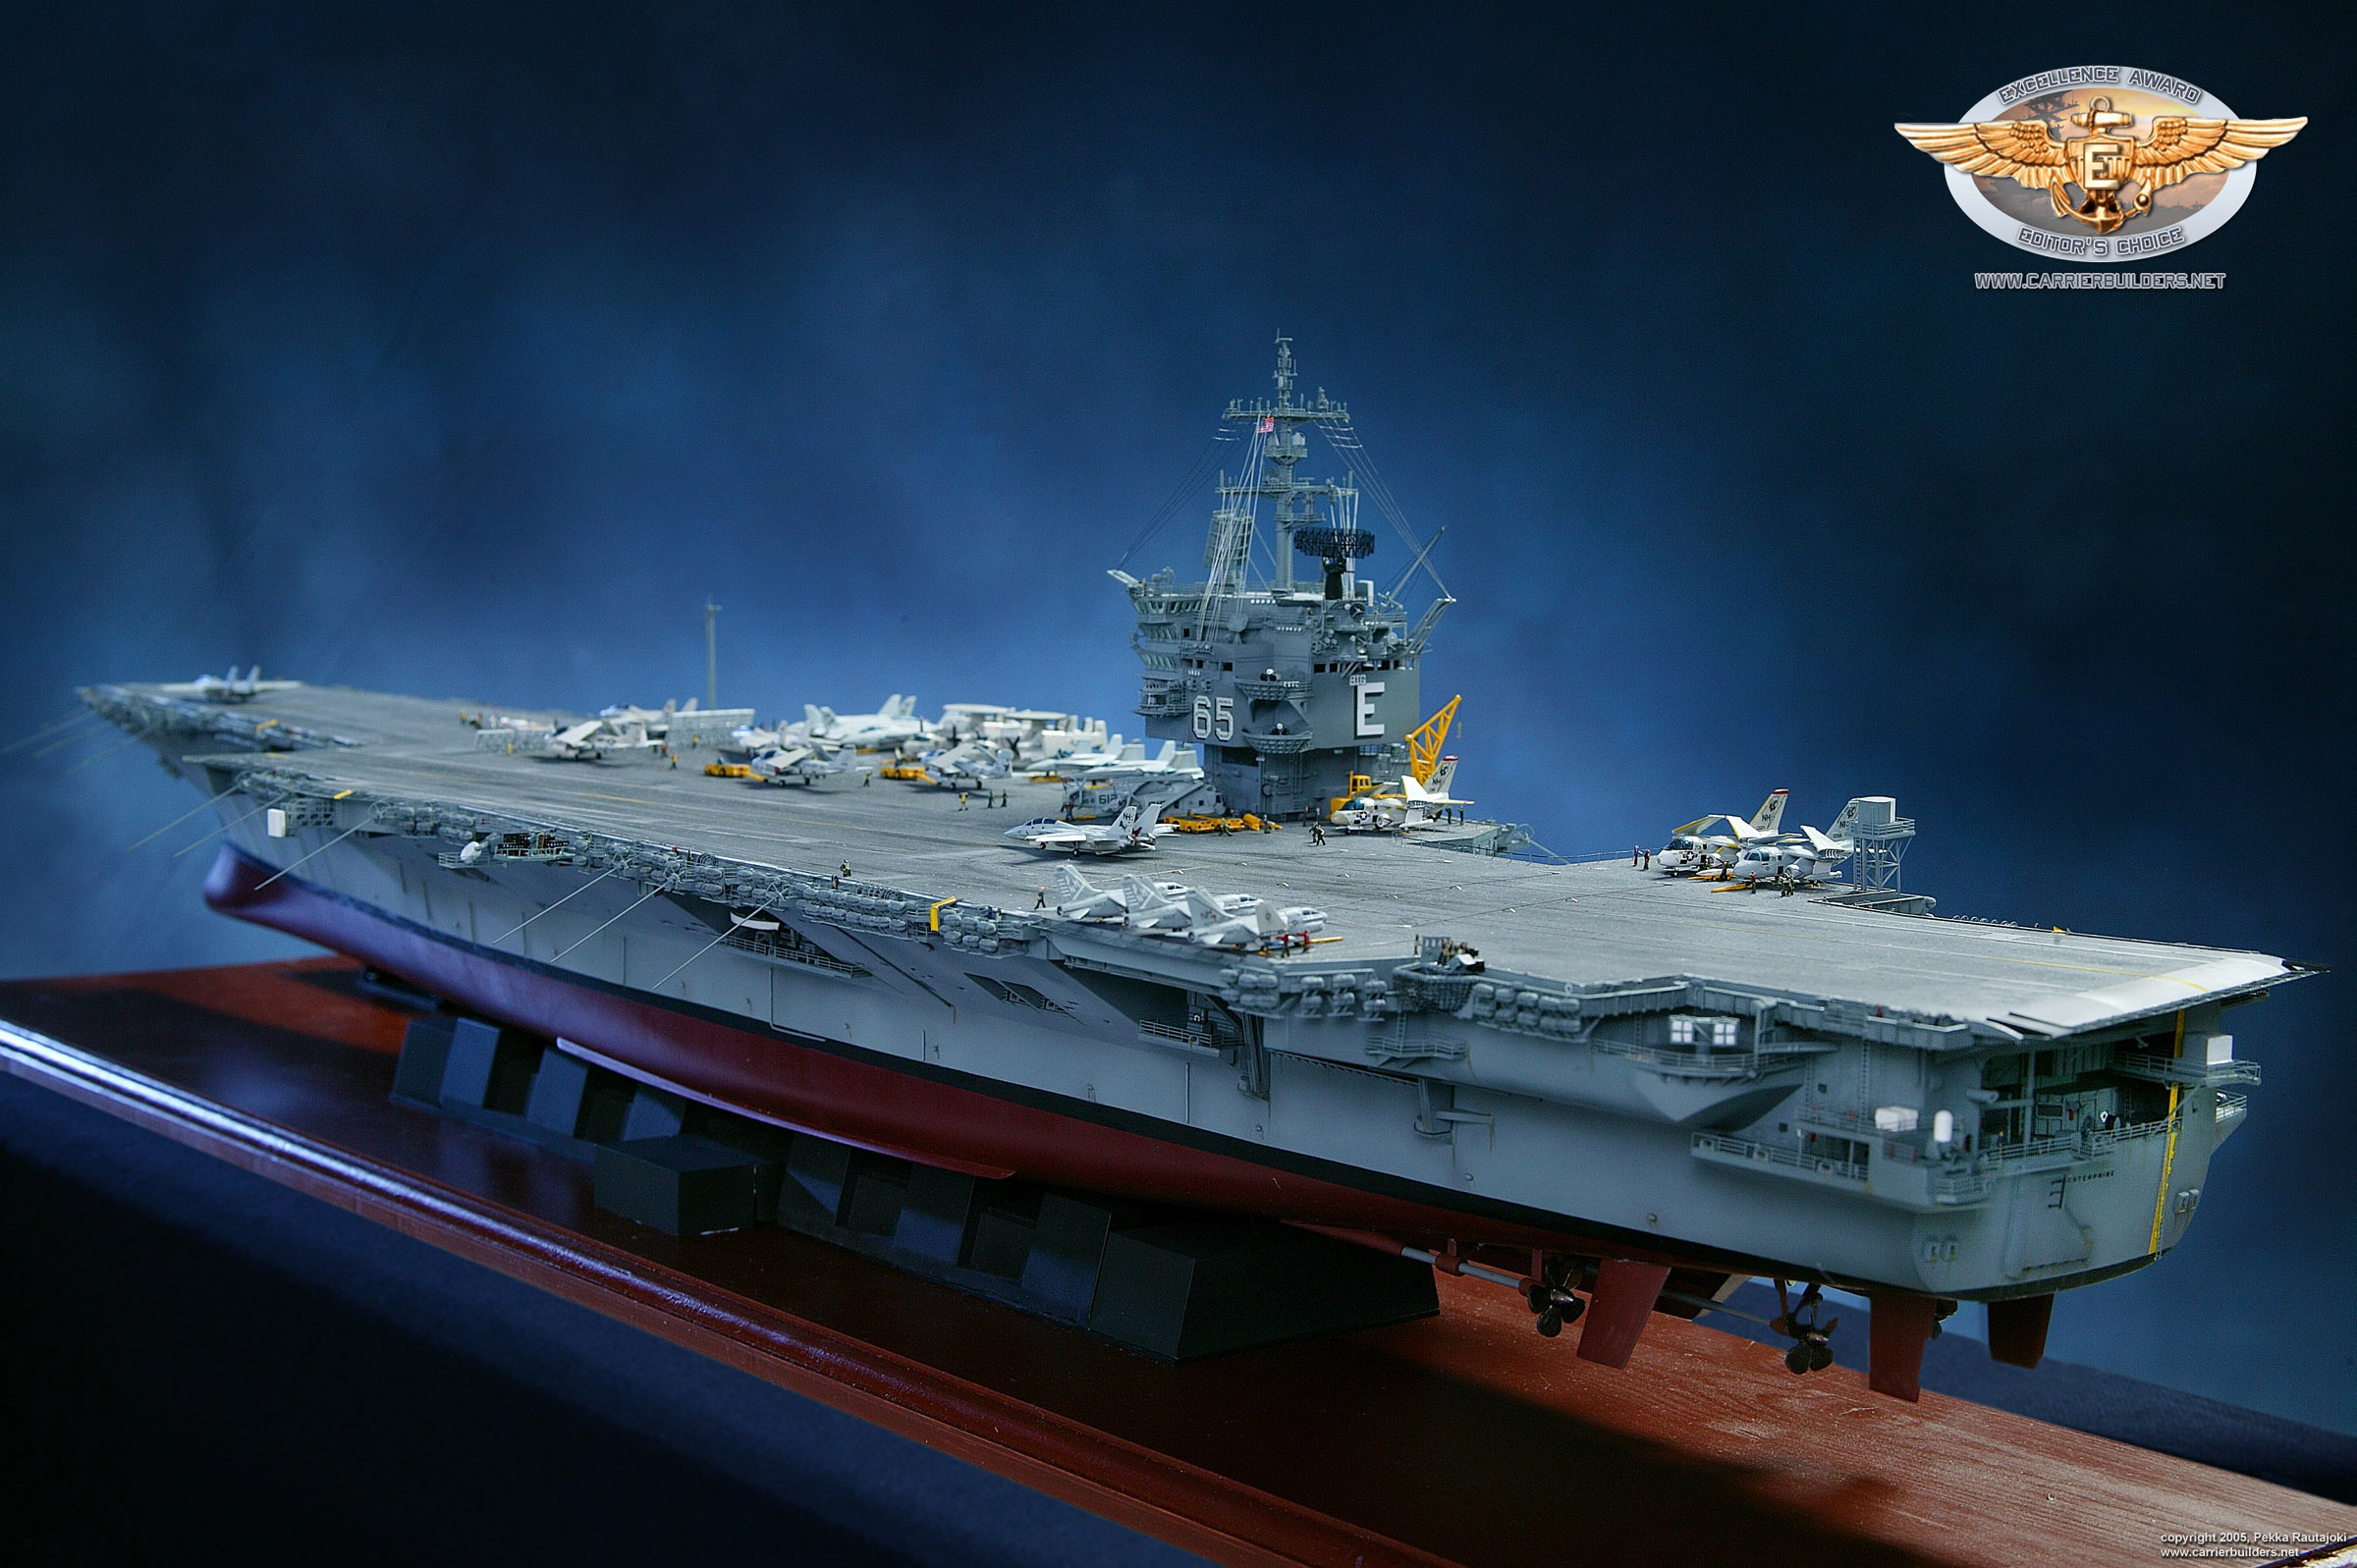
| USS Enterprise CVN-65 by Pekka Rautajoki | ||
|
|
Brand: | Tamiya |
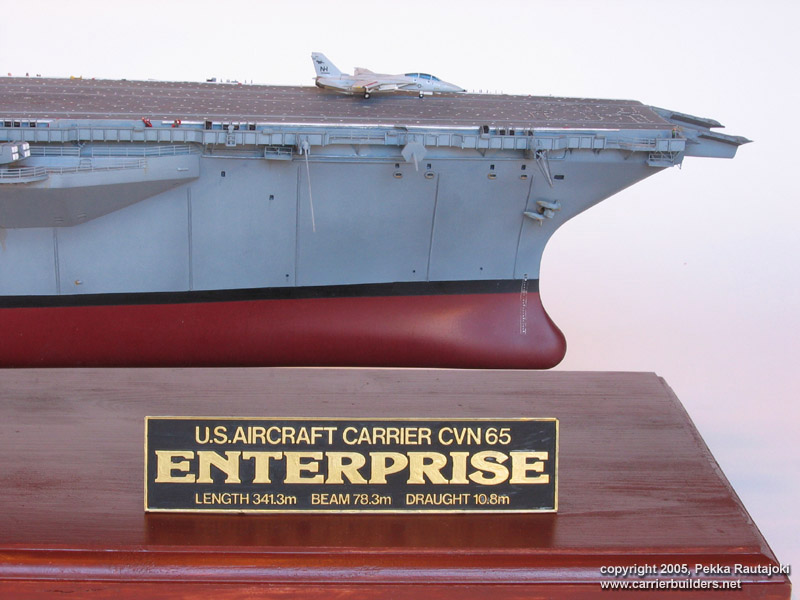
| Scale: | 1/350 | |
| Modeler: | Pekka Rautajoki | |
| AddOns: | Gold Medal Models PE Sets, Lot of scratch... | |
|
This
model is awarded with the Aircraft Carrier Builders Excellence Award. As an
award winner, no size restrictions apply to this submission. All the images
opening by clicking on the thumbnails are
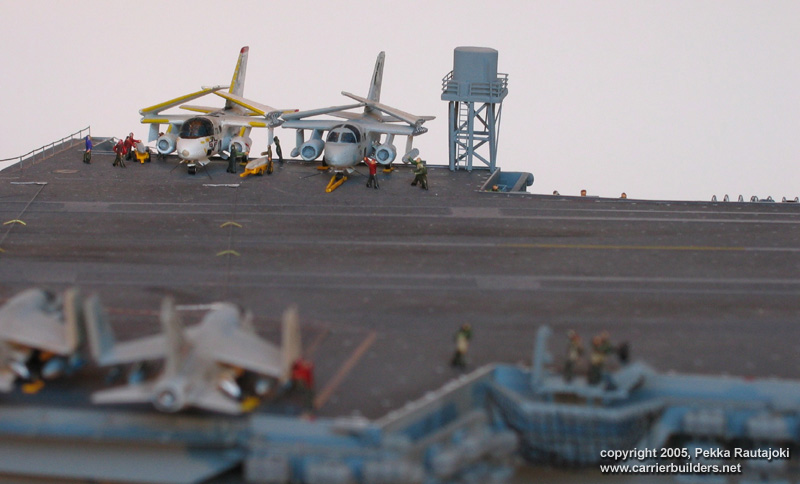
The project started in early 1990s when I for the first time ever discovered Tamiya's big E in a shop, and bought it with discount (the box was in a sad shape, but the contents were OK). Early in the project, after having basically only brush-painted the hull and major parts, I got my hands on two reference books (Micheal O'Leary's and Eric Schulzinger's Airwing Enterprise and Bert Kinzey's USS Enterprise in detail and scale). In addition, first photoetch detail sets for ships from GMM came into my attention, and I ordered the USS E set and some additional sets (doors, ladders, crew figures etc). There are about 200 crew members aboard, most of them on flight deckbut some also inside the island and in hangar
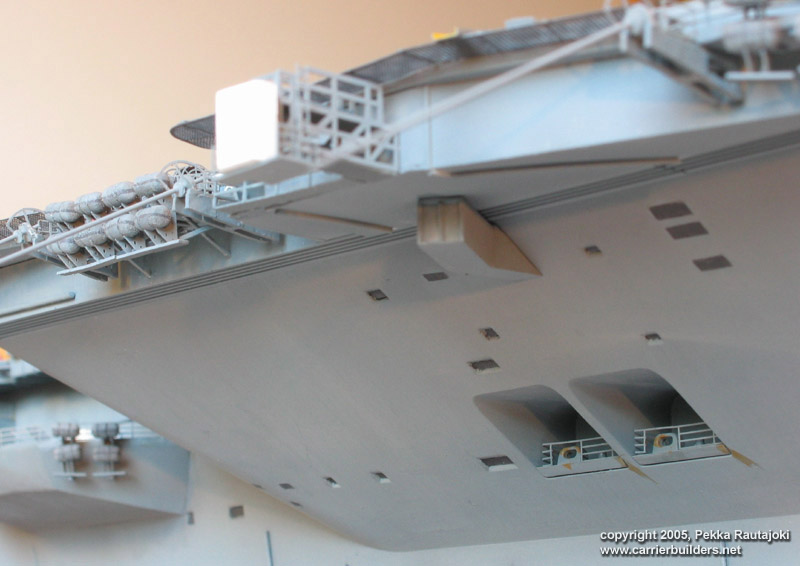
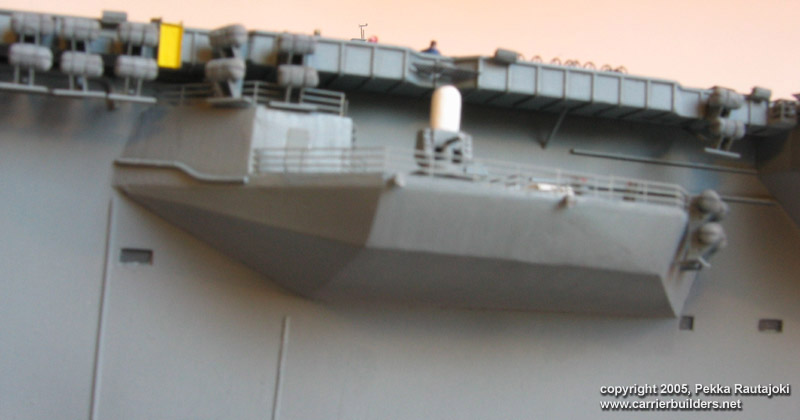
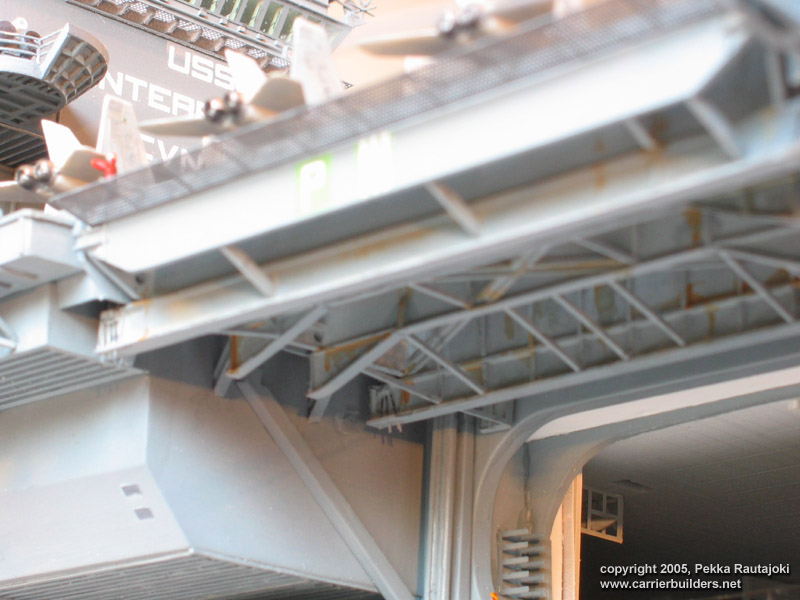
Problems really started when I planned to use GMM etches in certain parts to replace molded-on detail - like with the safety nets. I came across the term "museum quality", which meant among other things that you must be consistent with the detail level. The biggest challenge from this were the elevator gratings - how to do these to the similar level as the safety nets, i.e. open gratings instead of just molded-on detail? I ended up trying to do photoetches myself - but that was a disaster, which I don't like to remember. Enter Photocut in the USA - they advertised custom-made photoetch parts. I sent them several designs and they provided me with perfect elevator gratings, aircraft pylons and undercarriage doors, storage racks for hangar deck, and life raft canister racks.
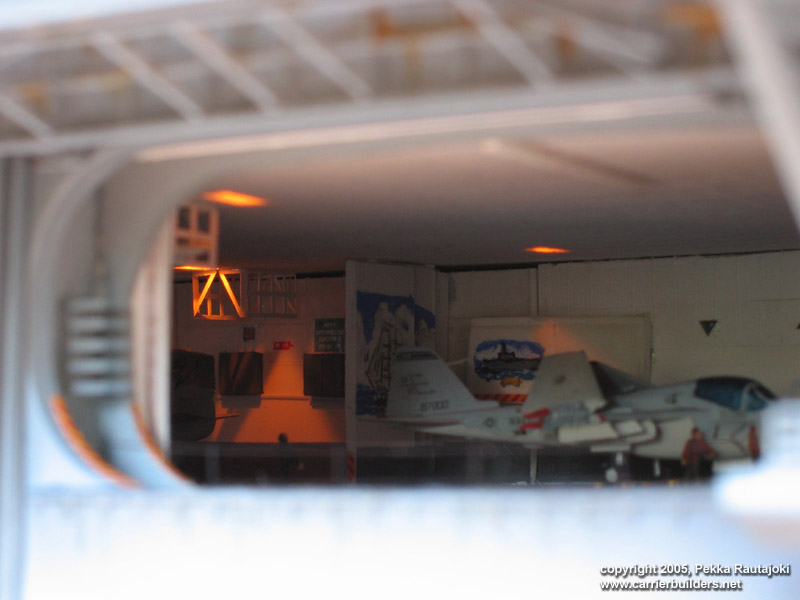
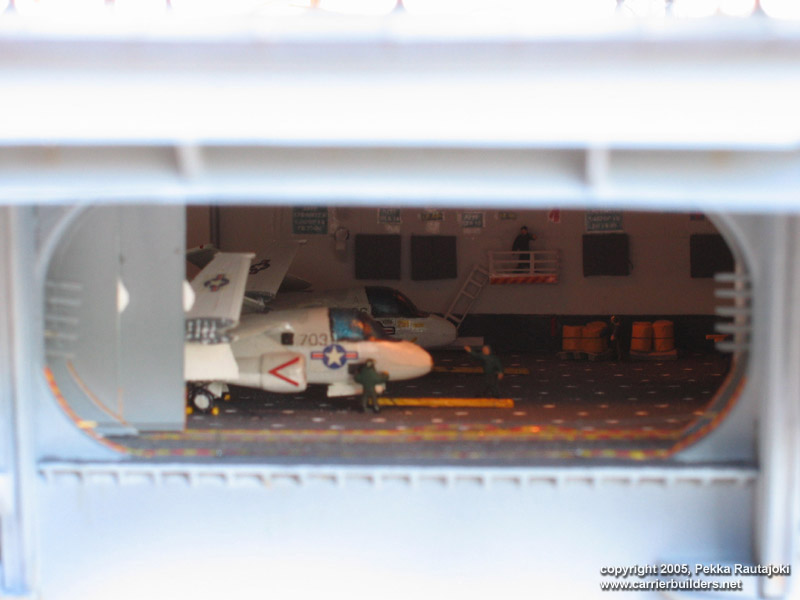
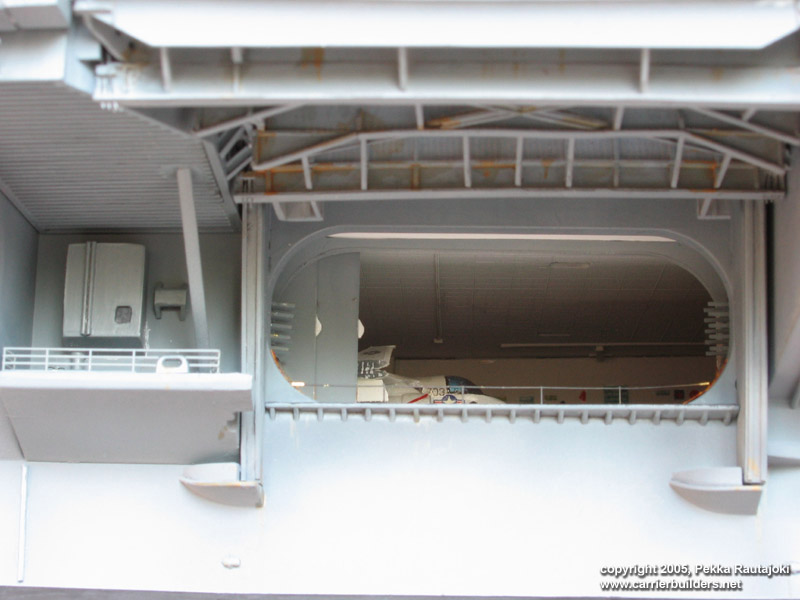
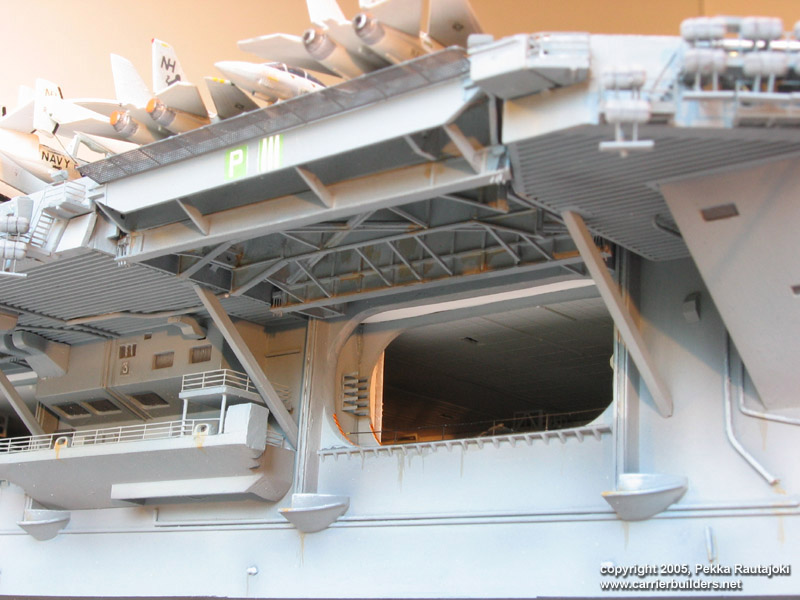
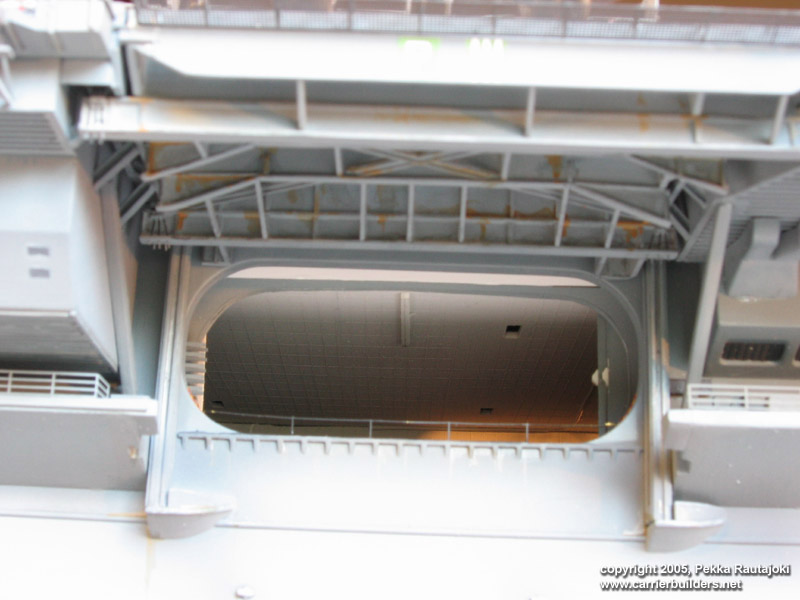
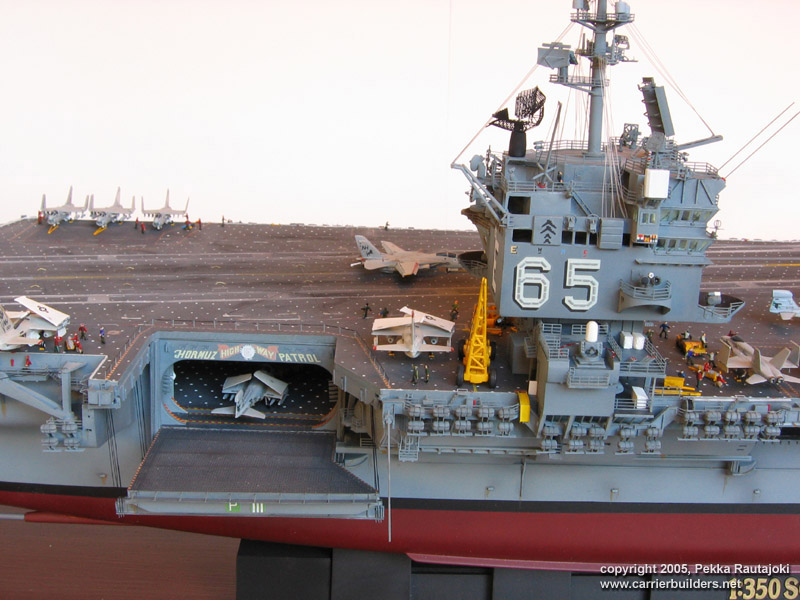
I built the complete hangar deck from styrene sheets and strips based on
pictures in Kinzey's book. I also replaced the erroneous hangar deck sliding doors. I printed my own decals for the hangar deck walls, and hand painted
the USS Enterprise mural in the fire door dividing the hangar in two. There are 16 small micro light bulbs in the space between the hangar ceiling and
flight deck parts. The bulbs can't be changed, so I just wired them parallel so that if one fails, the others will still light. Batteries are hidden
inside the Tamiya-supplied pedestal, which I needed to heighten just a bit. While doing the hangar decals, I also printed additional decals for
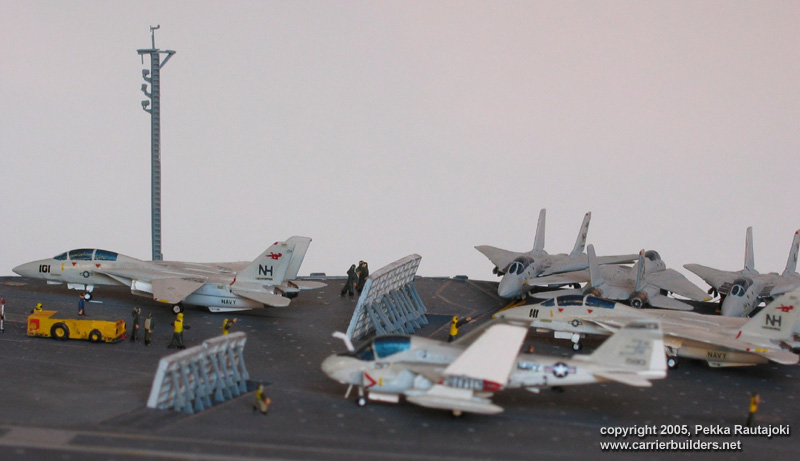
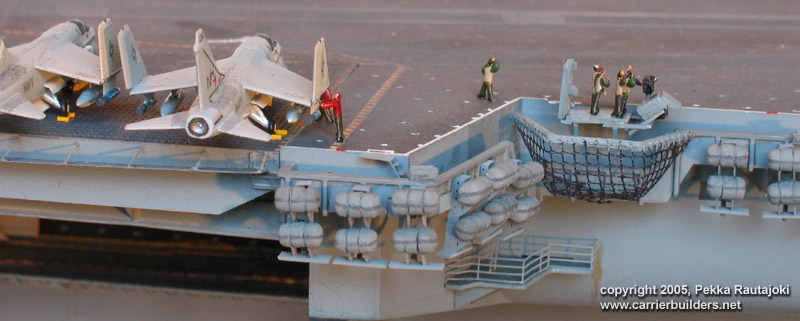
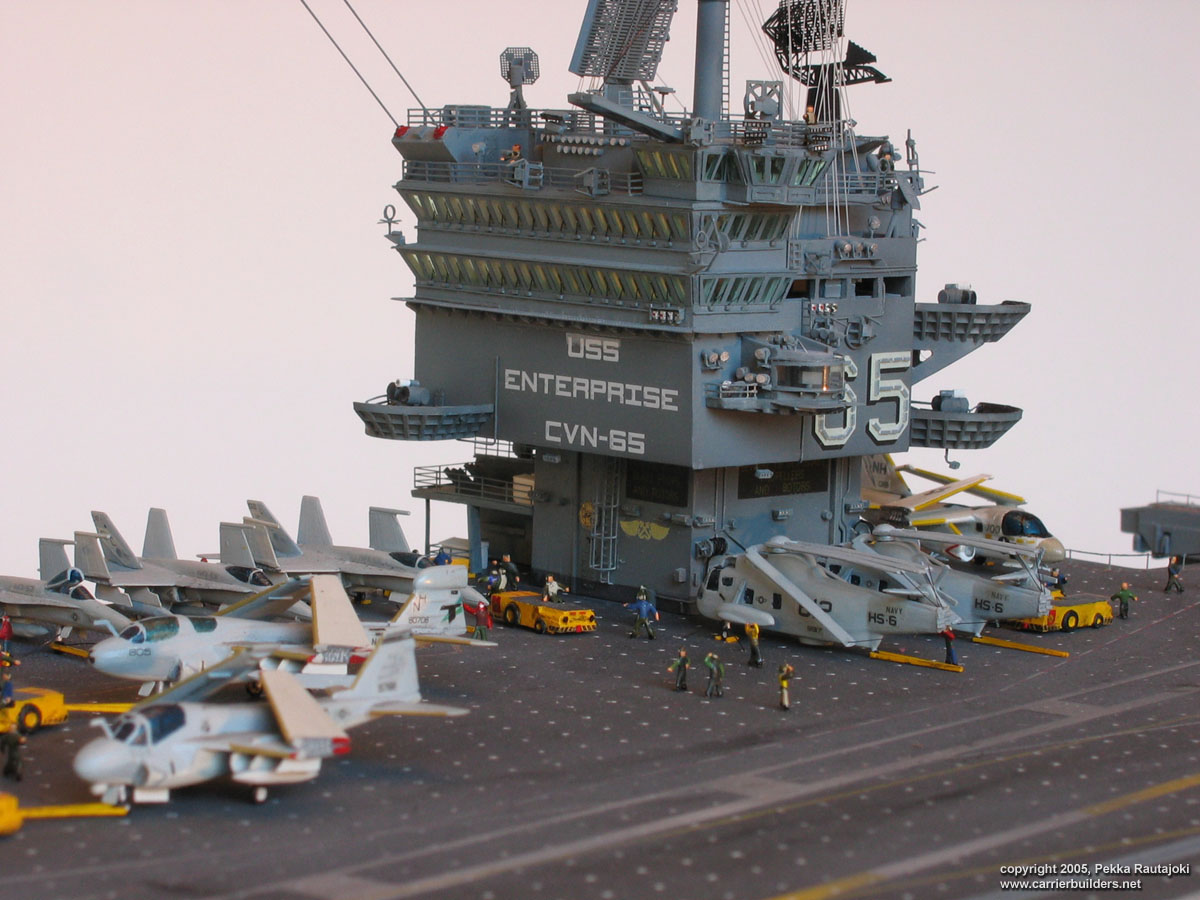
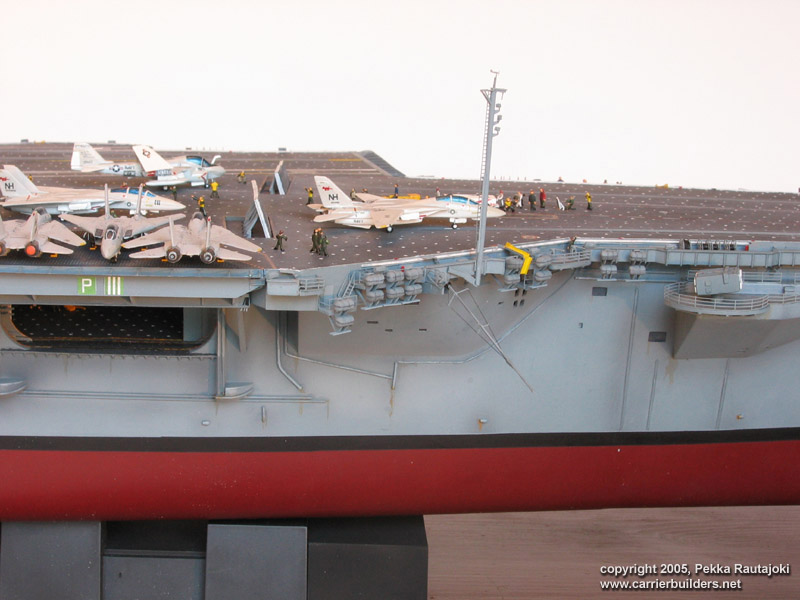
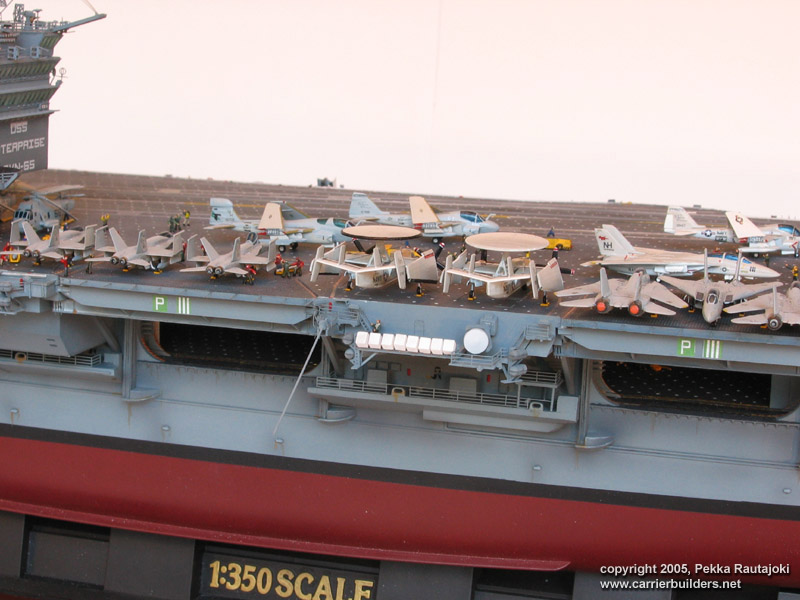
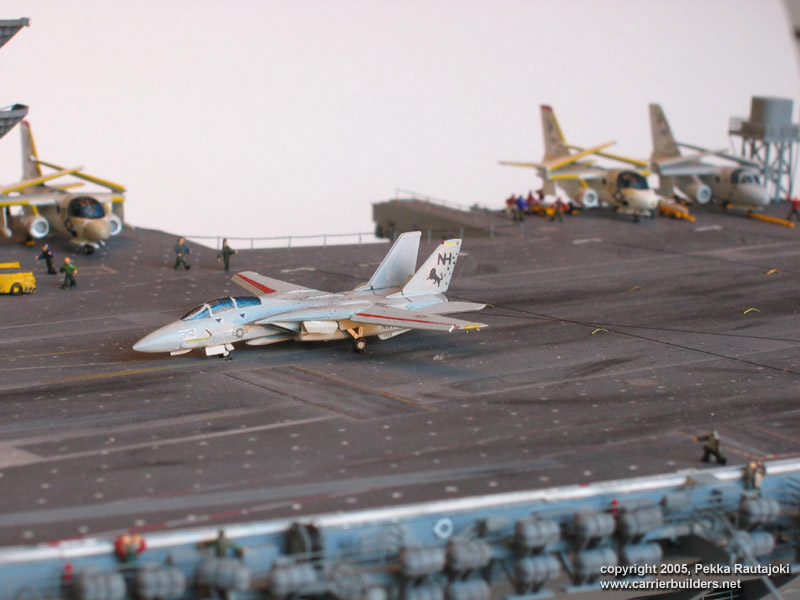
aircraft, even though I used decals from both high-vis and low-vis decal sets from GMM. Most of the flight deck markings are painted, apart from
elevator warning stripes and hatch surroundings. Some of these I printed
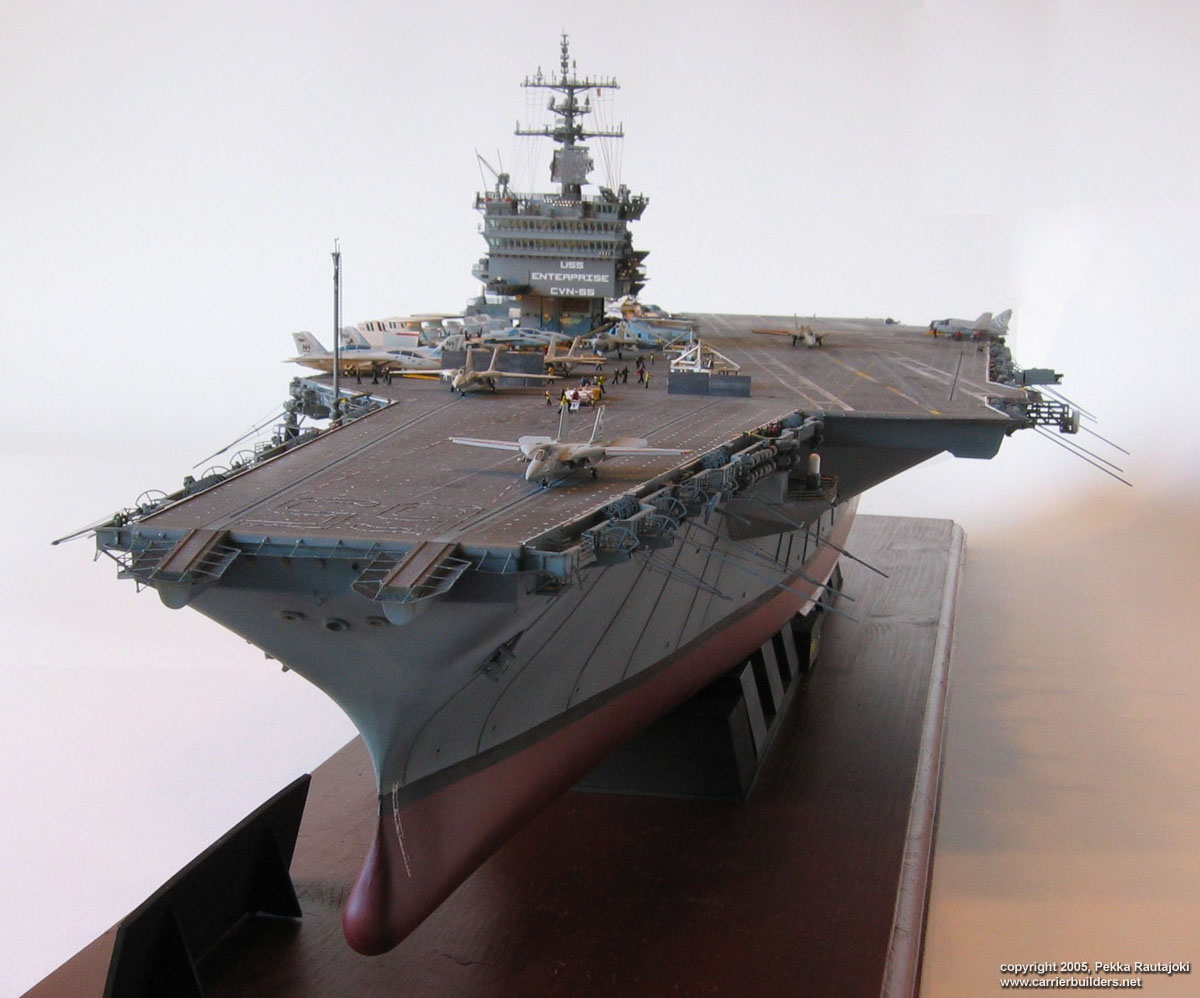
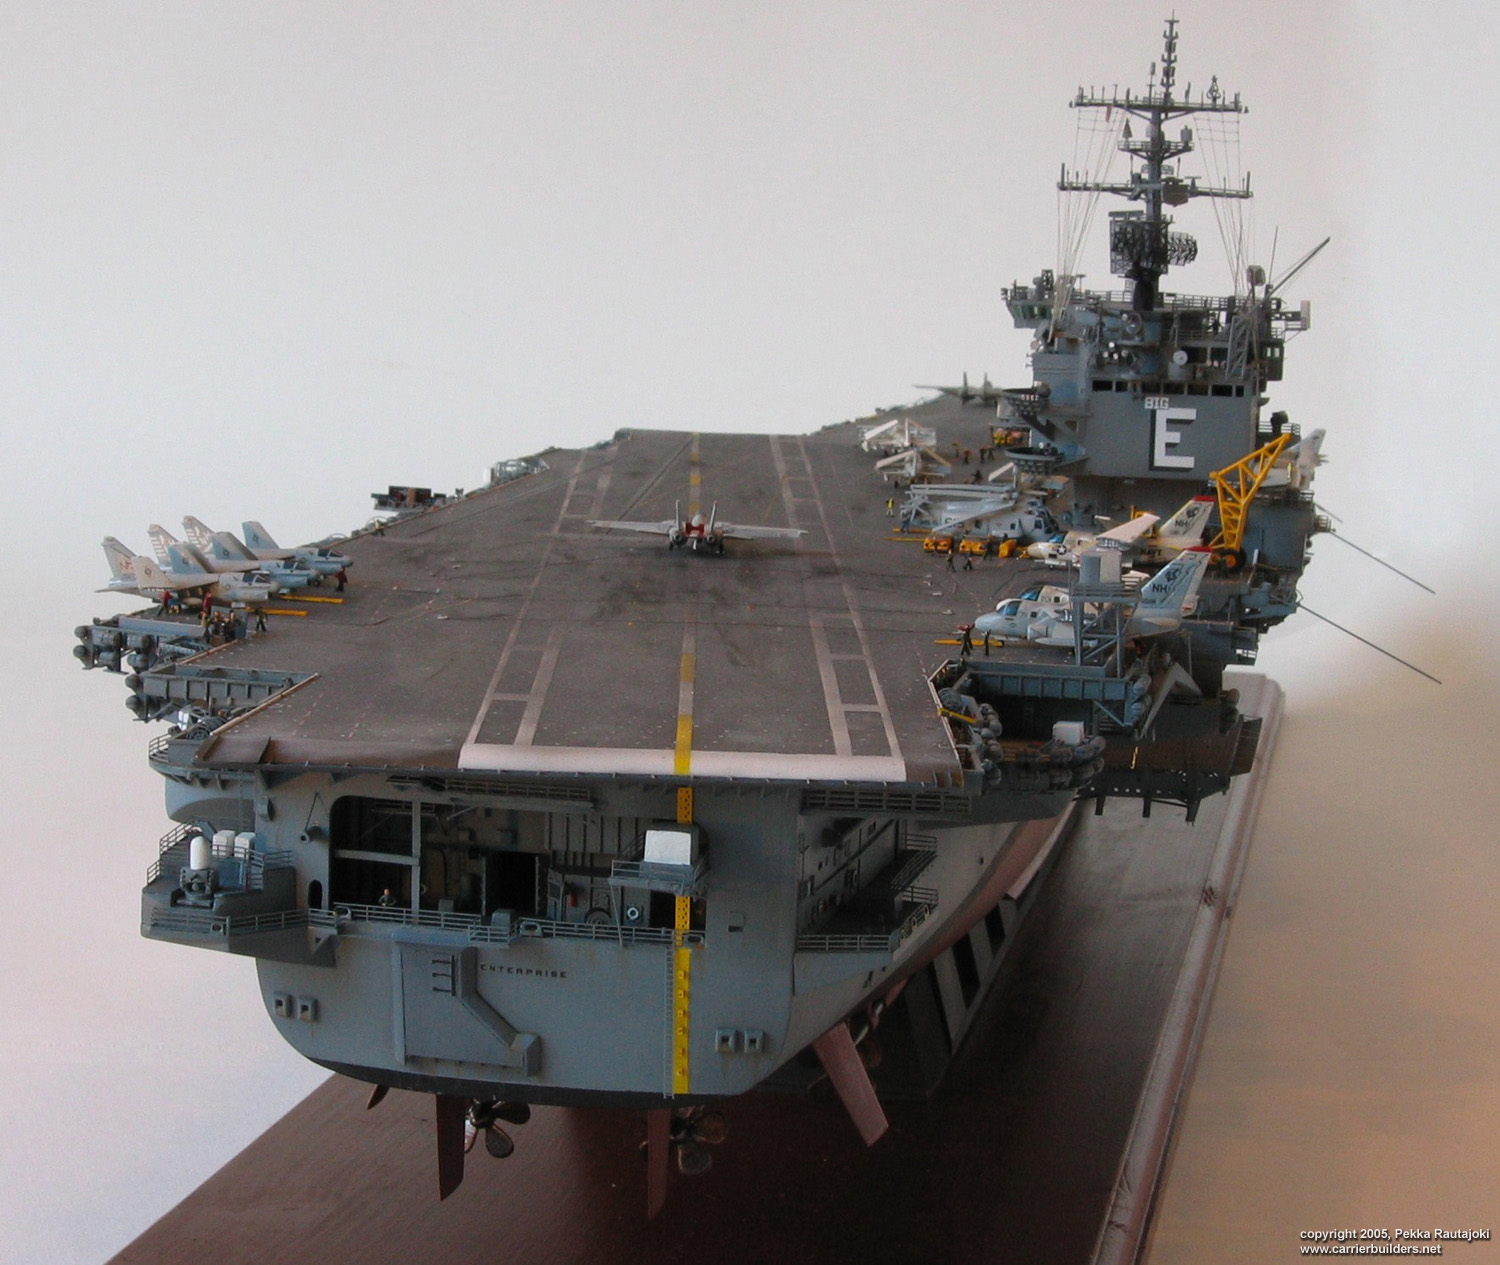
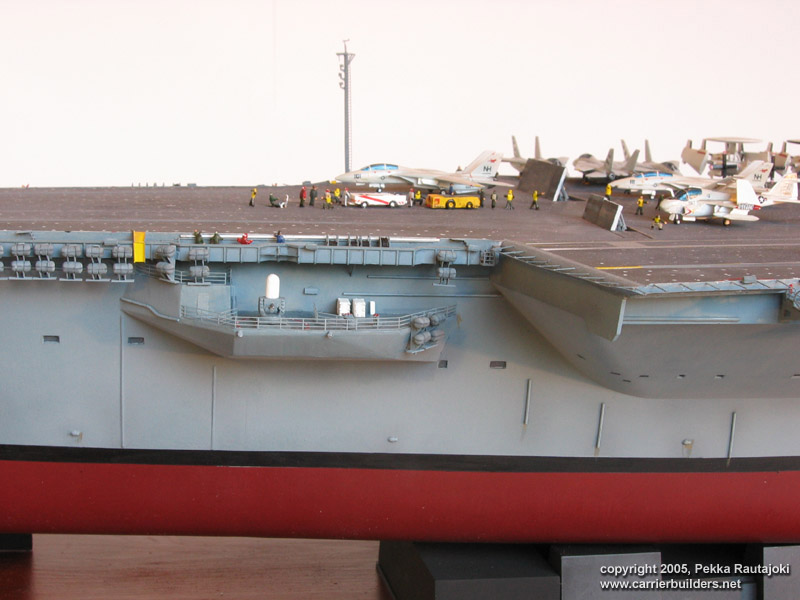
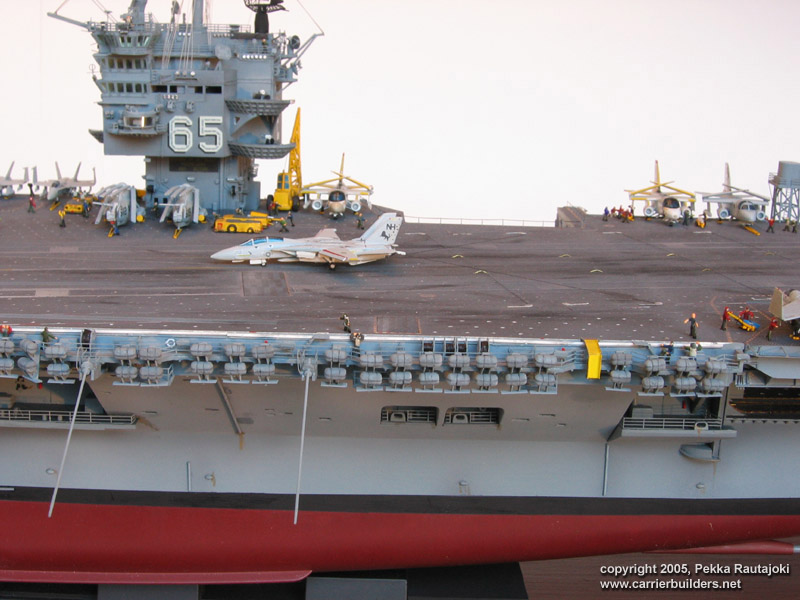
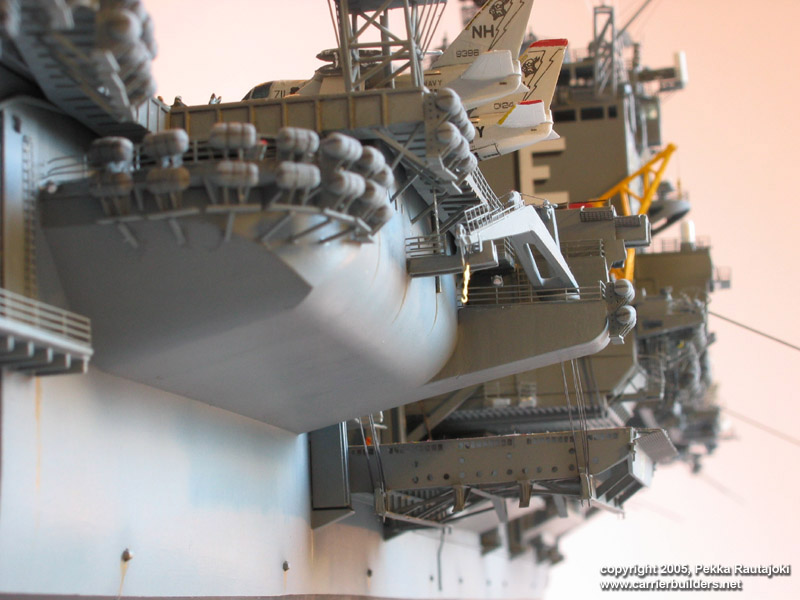
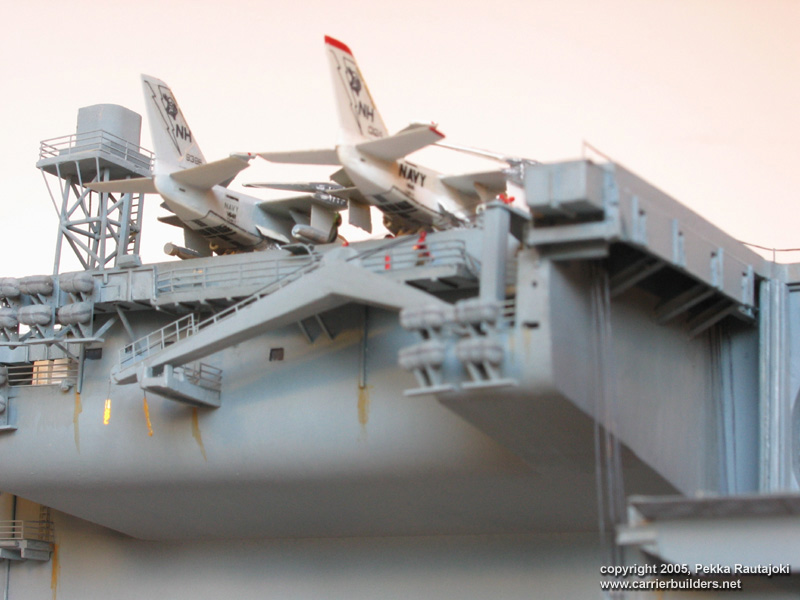
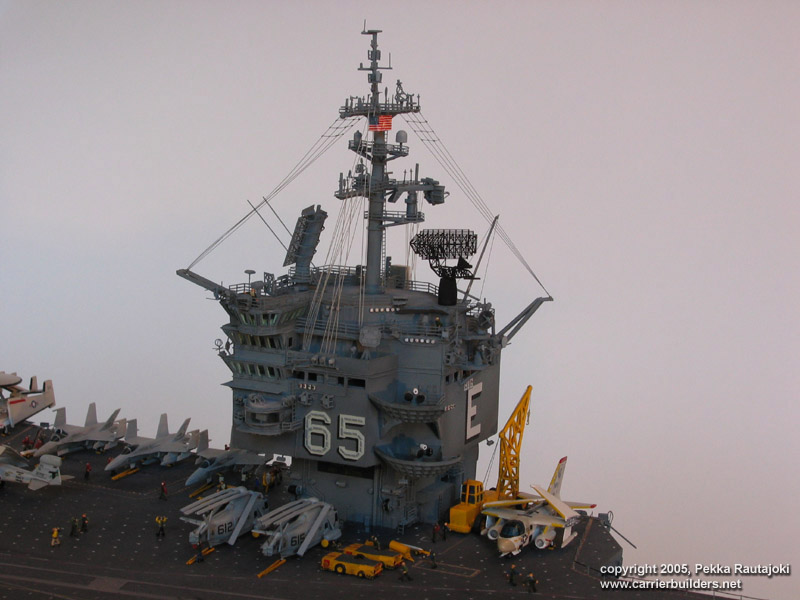
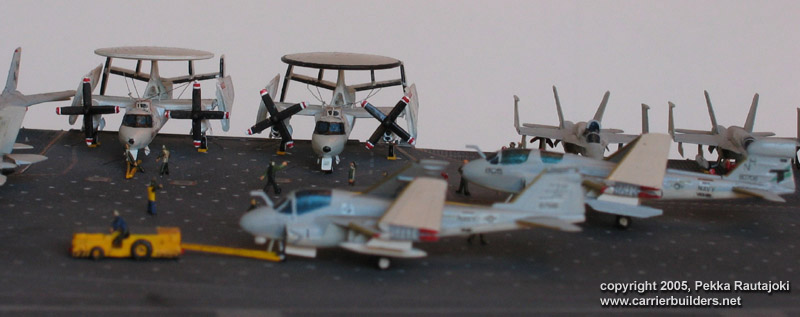
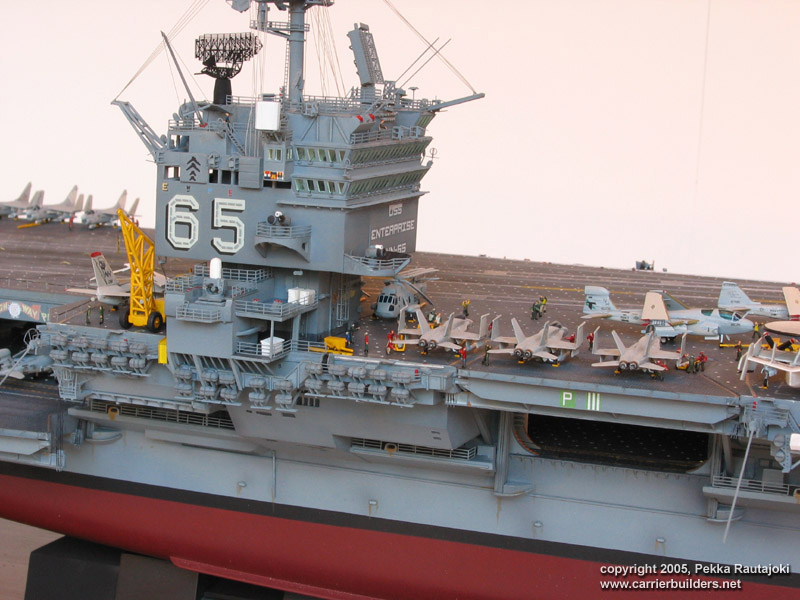
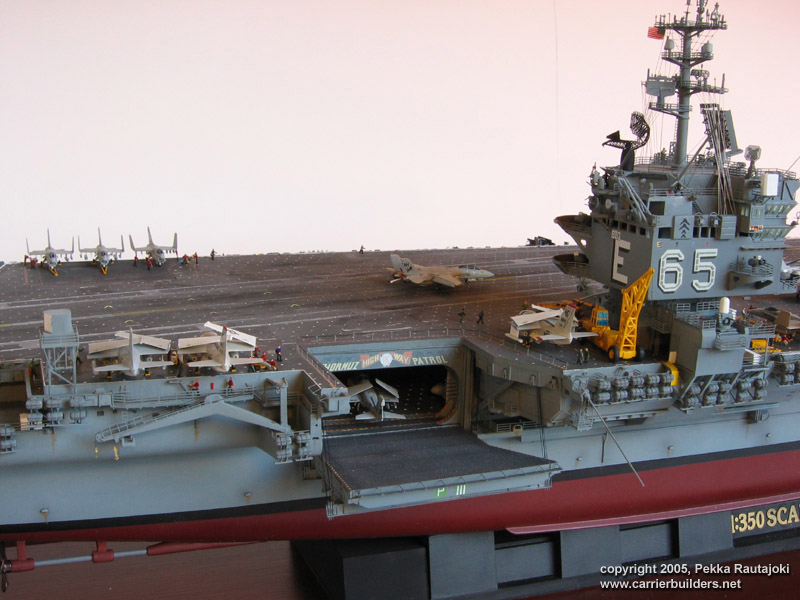
I used the extra aircraft set number two for two helicopters, prowlers and hawkeyes. I have also three hornets on deck decalled as Marines aircraft. As I wanted to model both landing and take-off simultaneously, my ship depicts a scene during carrier qualifications. There is actually one pic in Kinzey's book showing a similar situation, and similarly, the jet blast deflector behind cat 2 has one section down as the fault line of the landing area goes over it. Same has been done with my model. All missiles and external fuel tanks, as well as the smaller yellow gear is scratchbuilt. I only wish the nice White Ensign Models' photoetched gear would have been available back then (or it actually was at around the time I was finishing the model, but it wasn't economical to buy the whole detail set just for the yellow gear). Two of the intruders have been modified into KA-6D tanker versions. Parked aircraft have simplified attachment cables to anchor them to tie-down pads. Speaking of those - the molded-on circles on the model are in my opinion far too wide apart. I sanded them away and drilled small indentations to deck - about twice as many as there were originally. I had initially troubles attaching the planes to tie-down pads, and the reason was that there were far too few of them too far spaced...
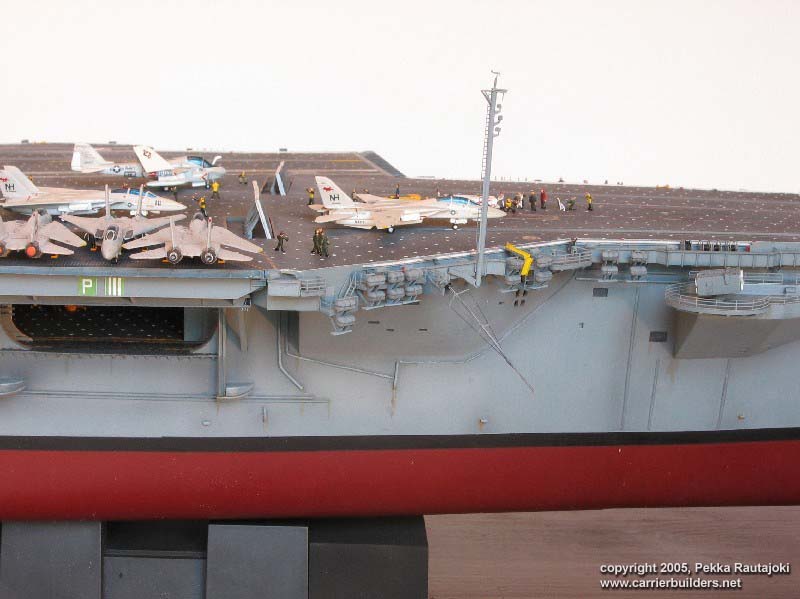
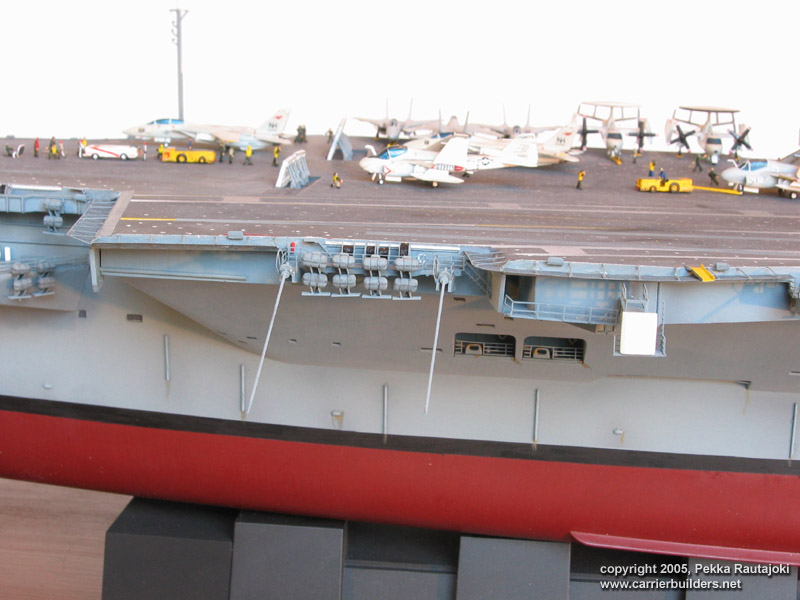
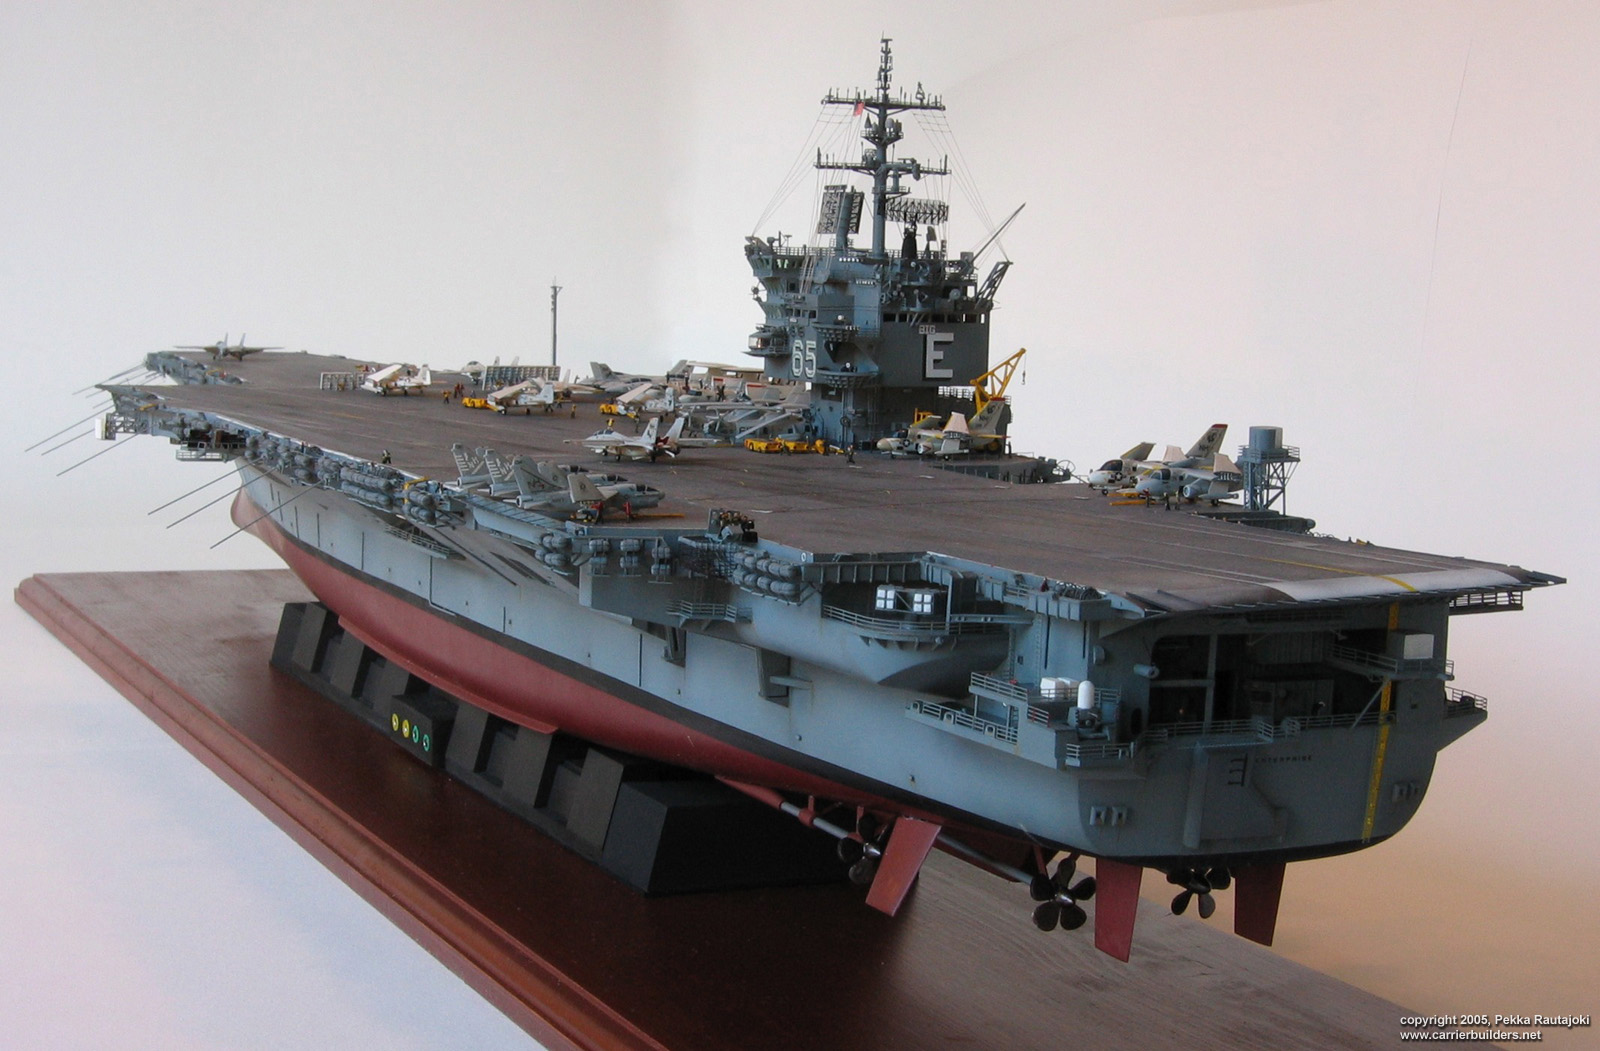
Flight deck weathering is done with spray-painting and toning down the flight deck markings, and using ground pastel powder - lighter for faded-look and black for tyre skid marks. The hull weathering is done with airbrushing darker shades of grey along edges and places that would be in shadow, and airbrushing lighter color at the centers of large even surfaces...I was pleasantly surprised that the method useful for 1/35 armor wasn't too bad for 1/350 ships either...here and there I added some rust as well.
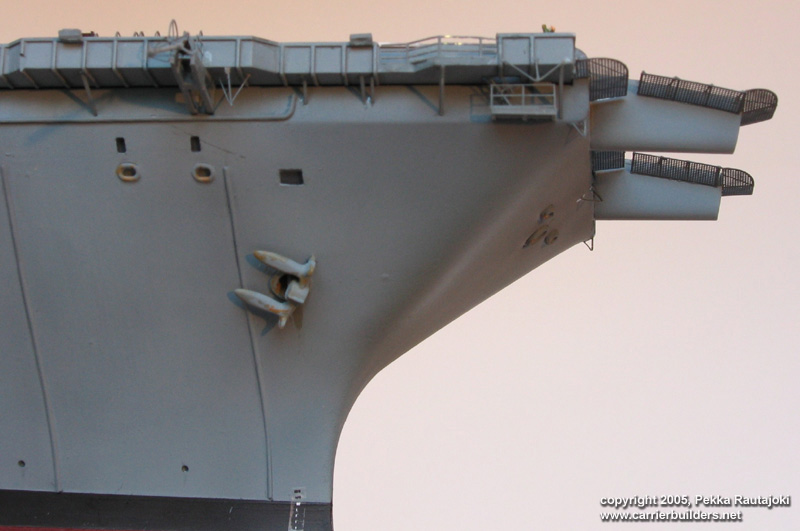
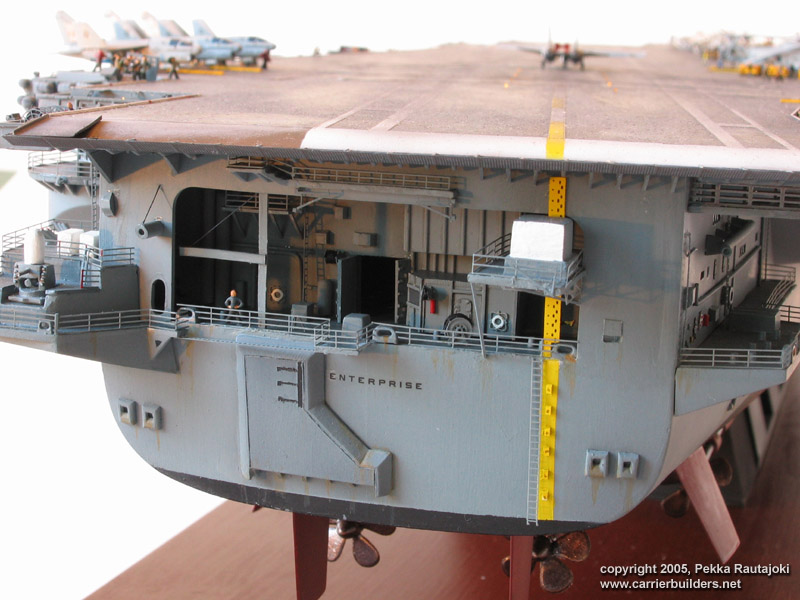
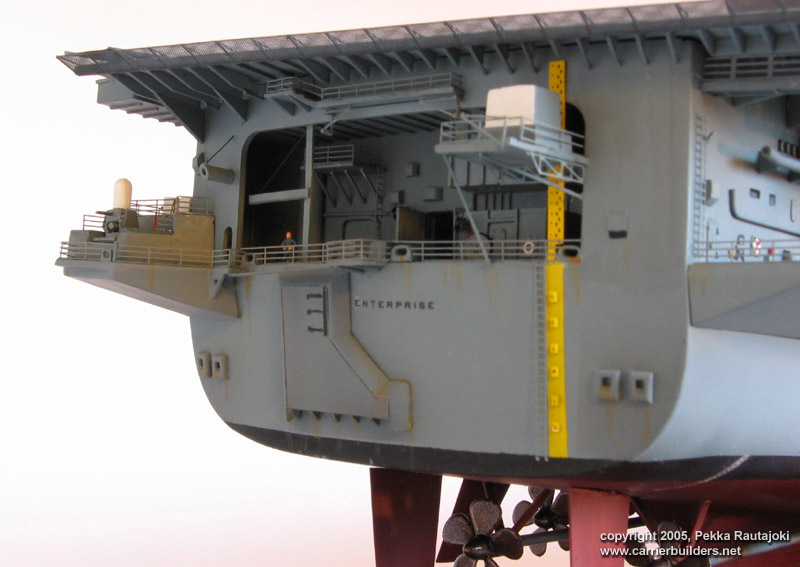
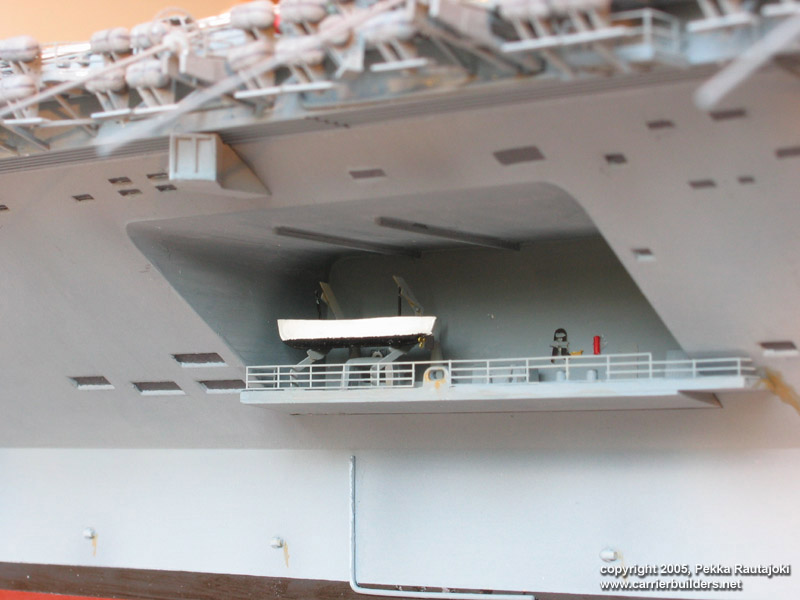
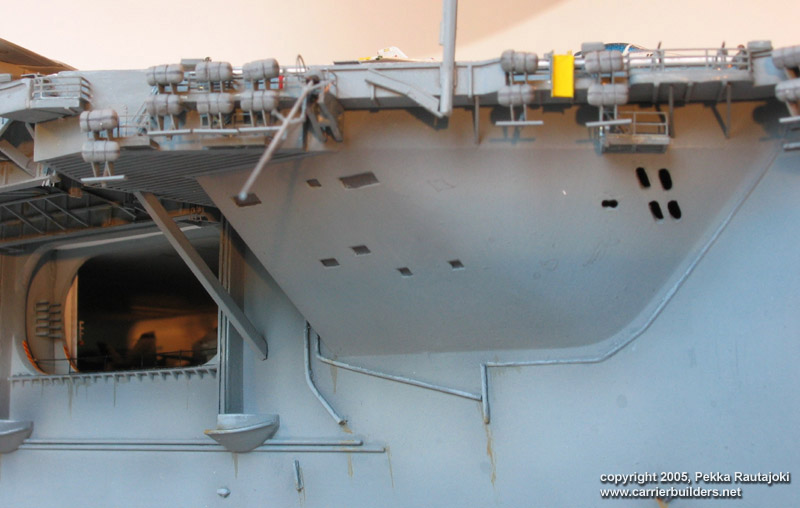
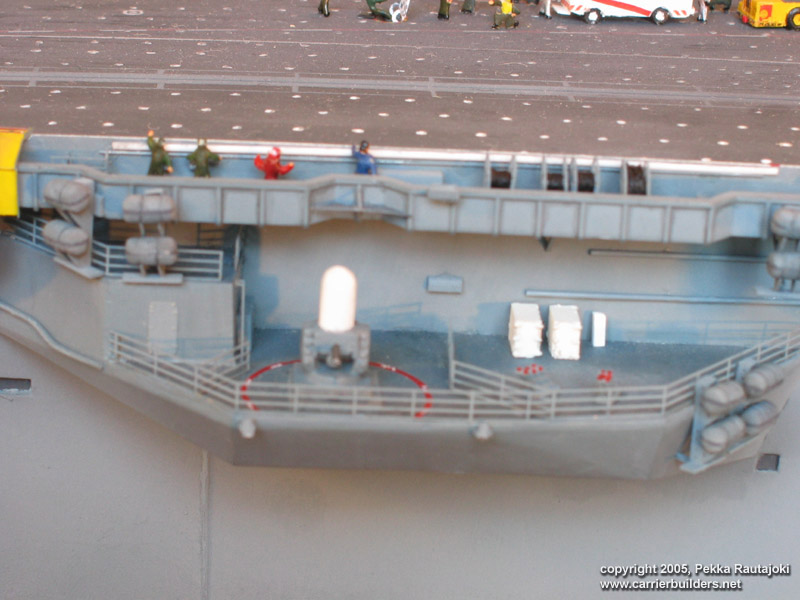
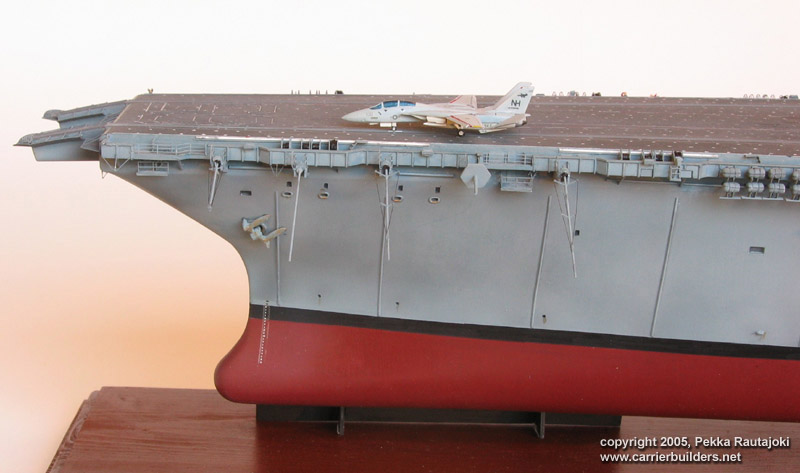
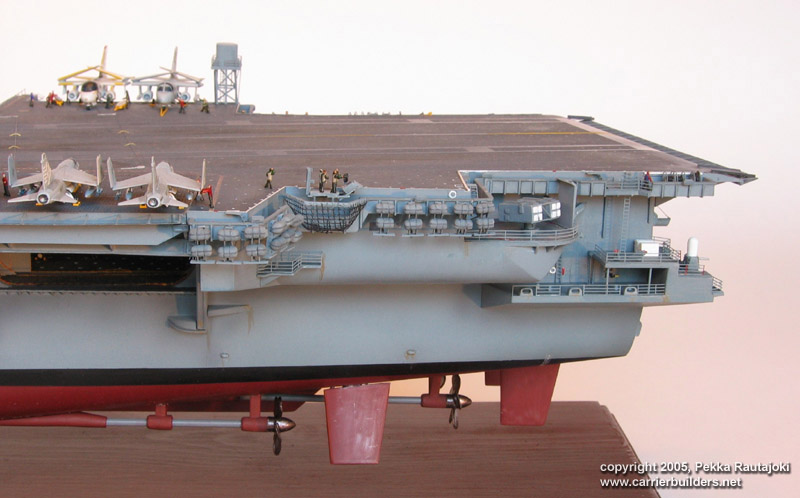
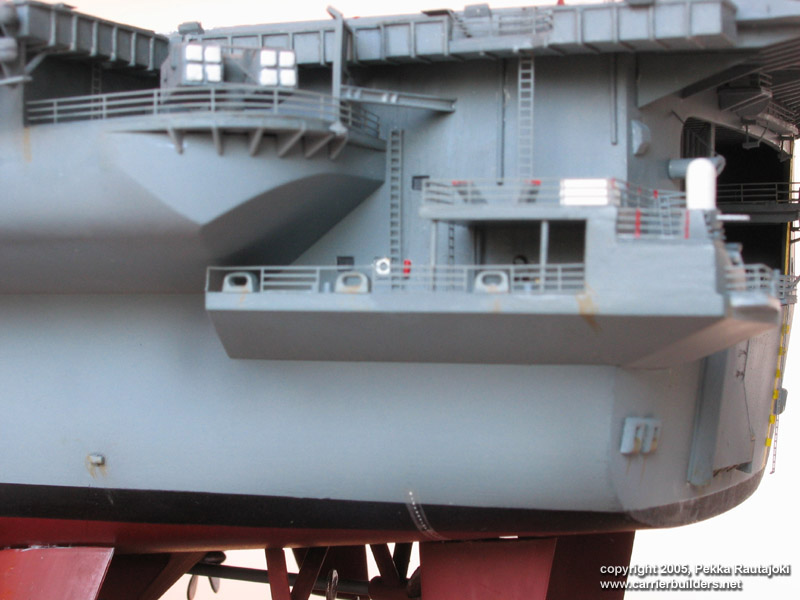
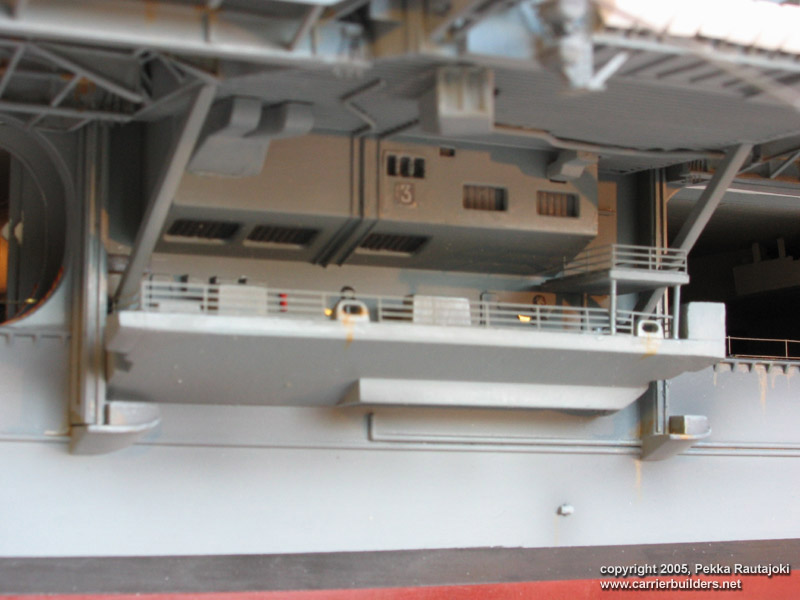
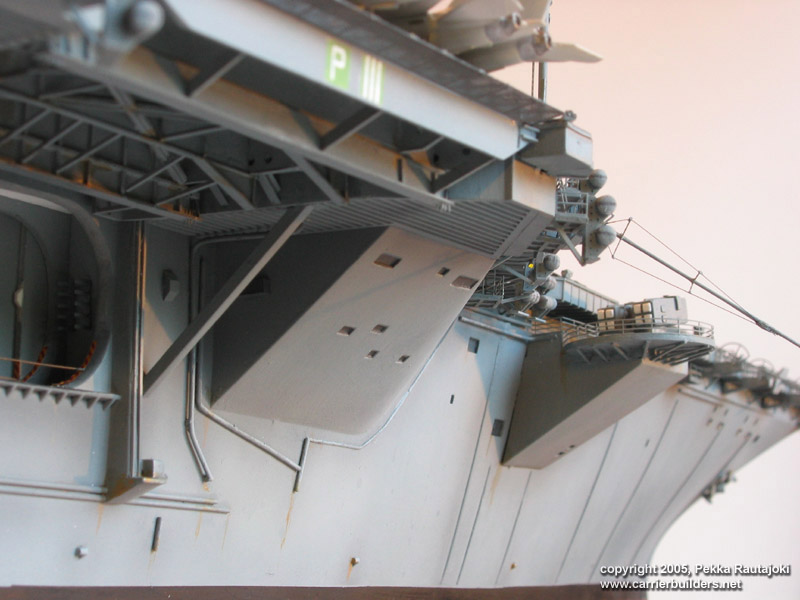
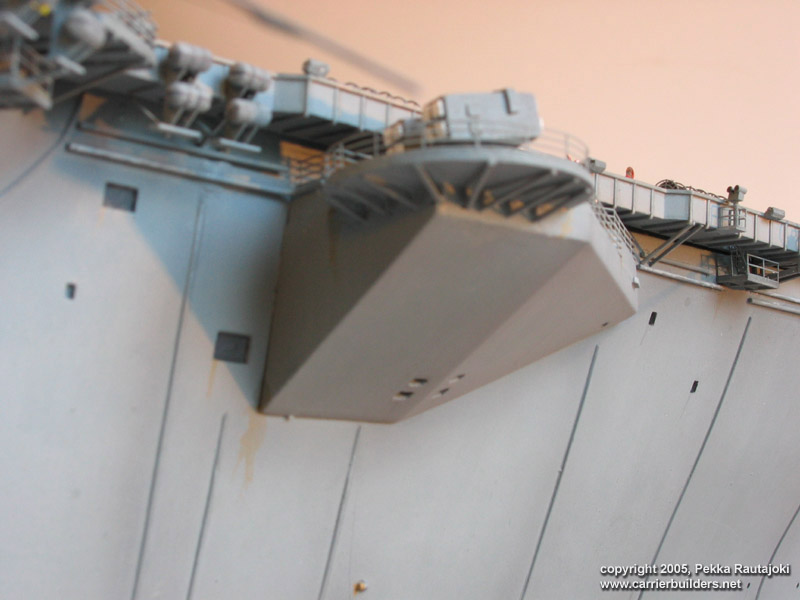
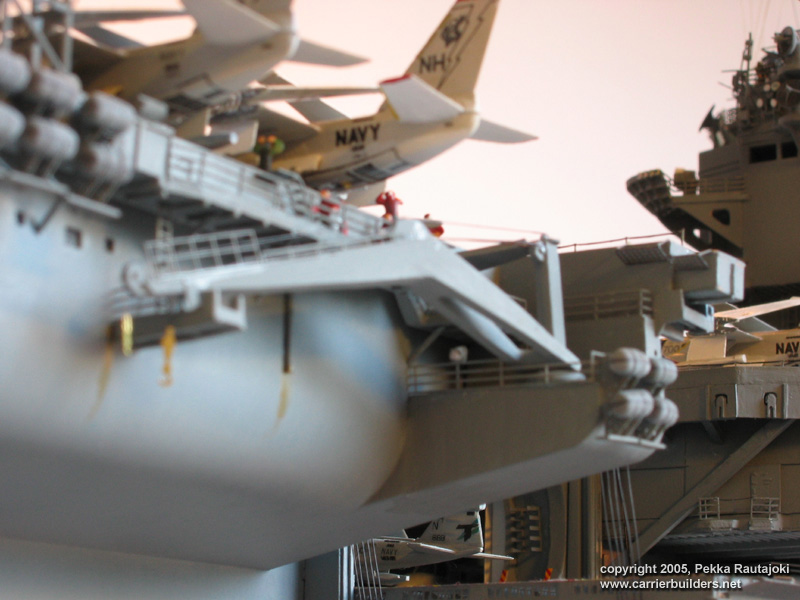
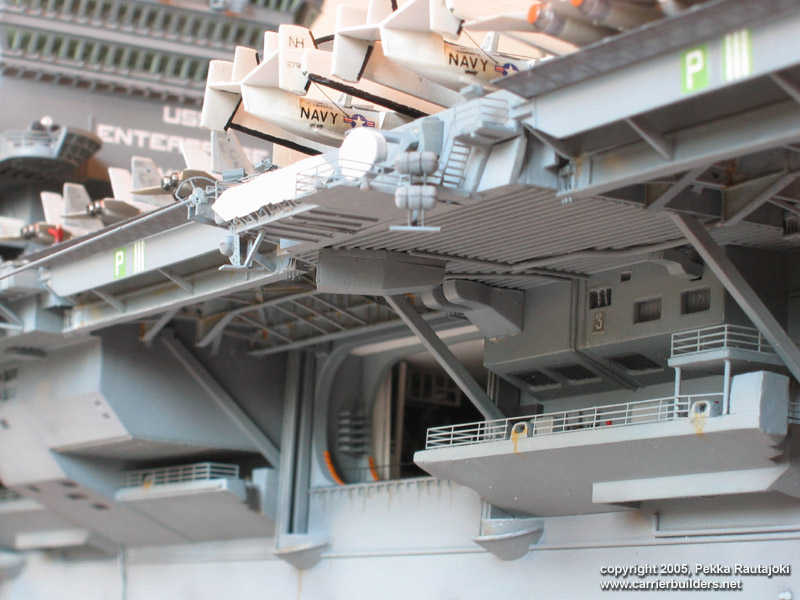
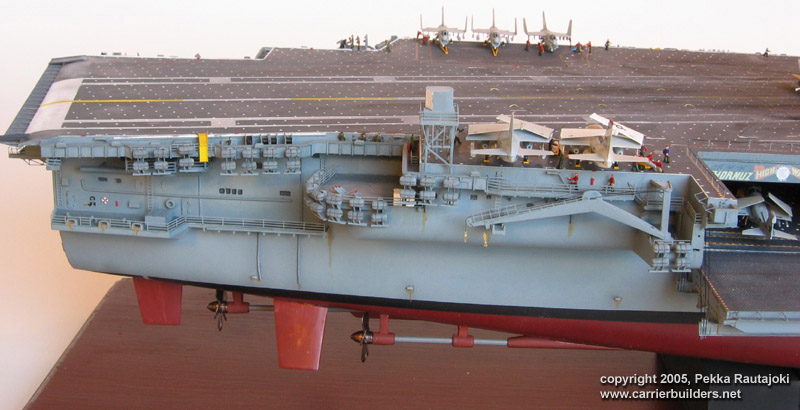
I fixed quite a few sponsons in terms of shape based on reference pictures - particularly the bow port and fantail Vulcan sponsons. Miscellaneous details were added - again based on Kinzey's book - here and there along the hull, including pipes, windows, ladders, LSO platform etc. I used black thread for cable reel hoses. All the whip antennaes were replaced with thin steel rod. At this stage I ran out of GMM railing, and ordered also the White Ensign Models Enterprise ship detail set. This was a good thing for the hose reels, too, as I ended up using two different styles as appropriate. The WEM set also had nice handles for the whip antennaes.
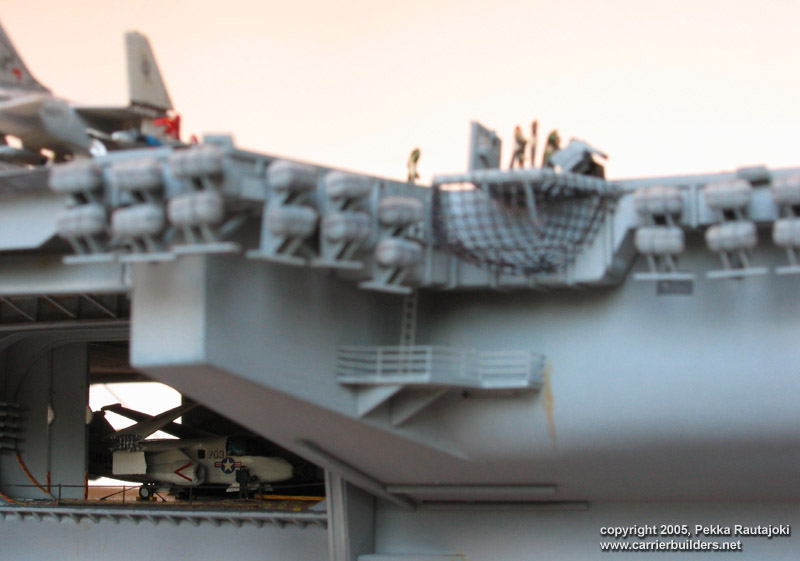
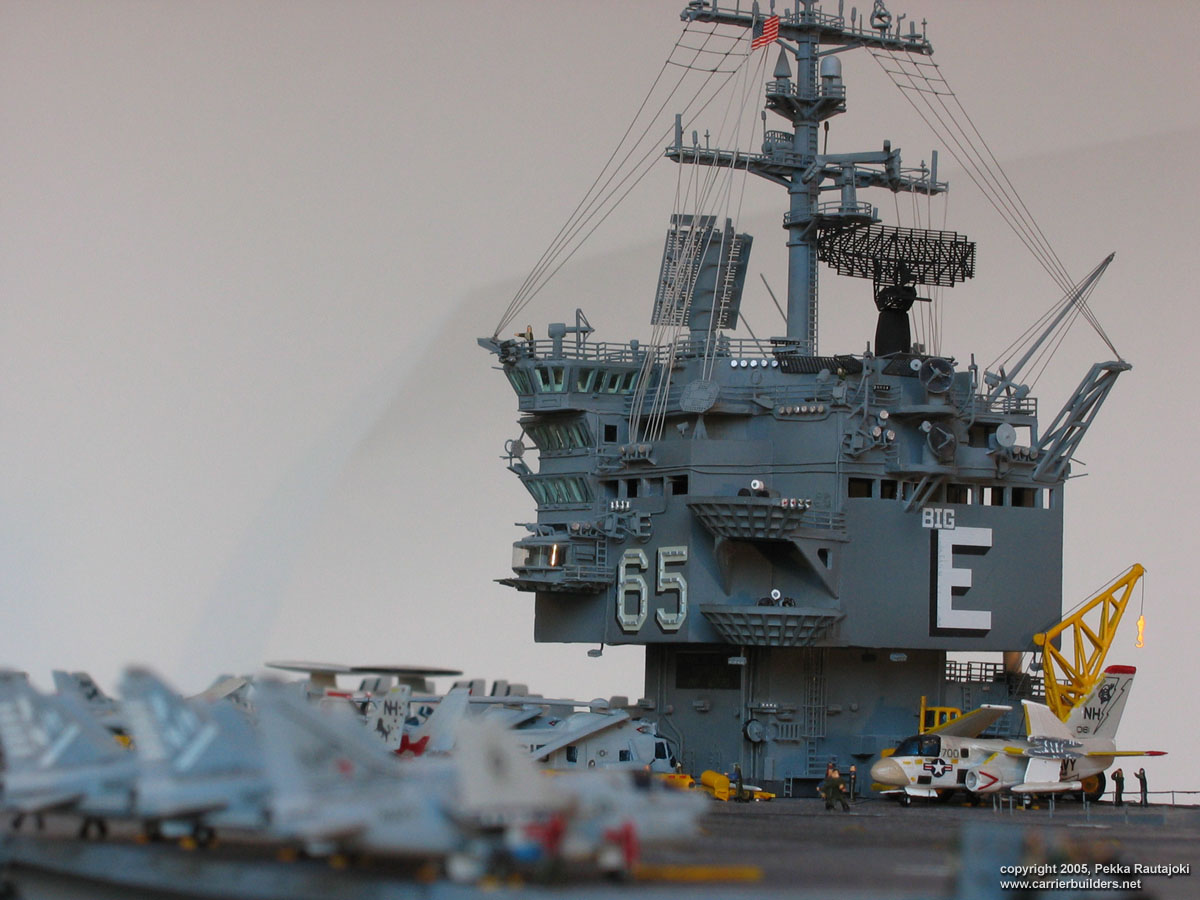
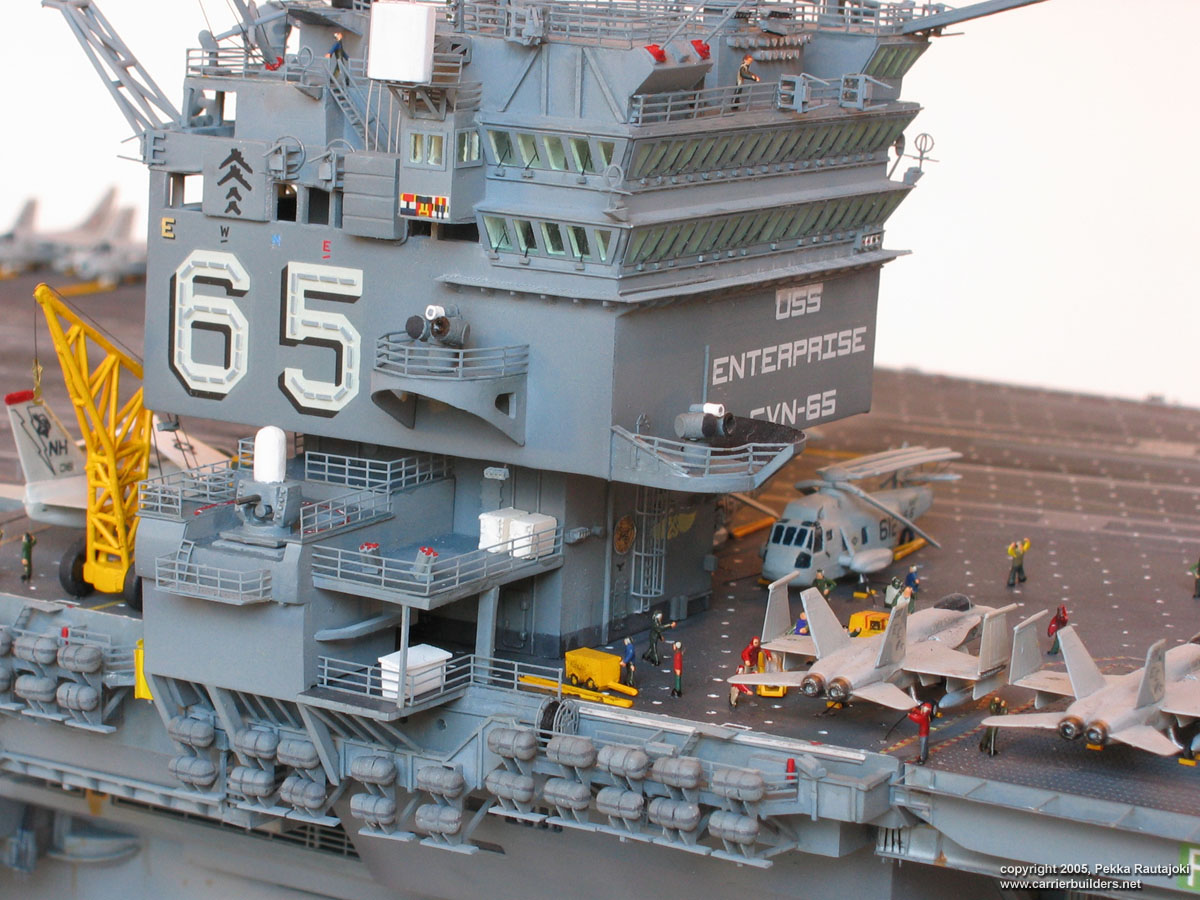
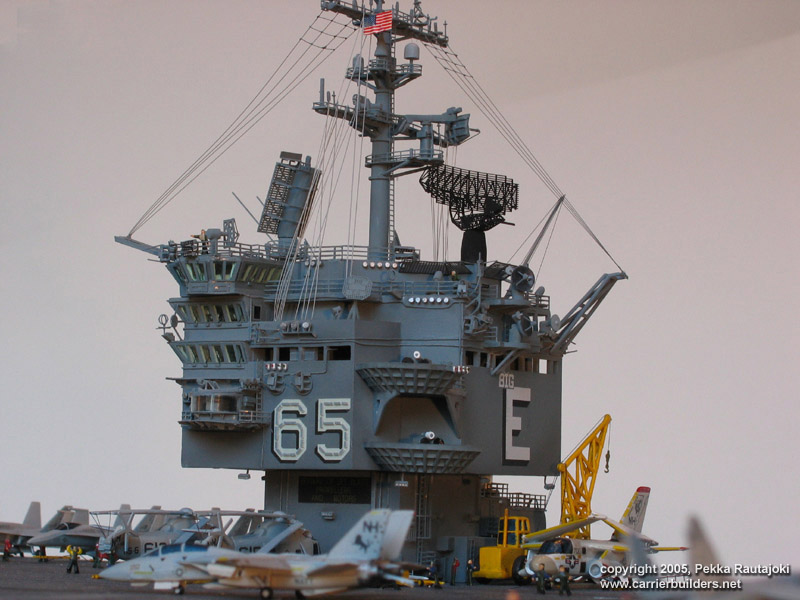
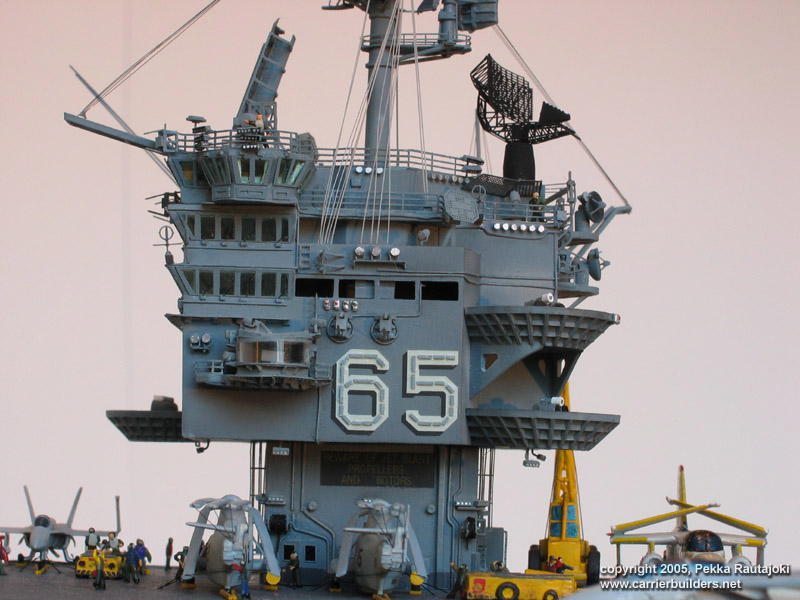
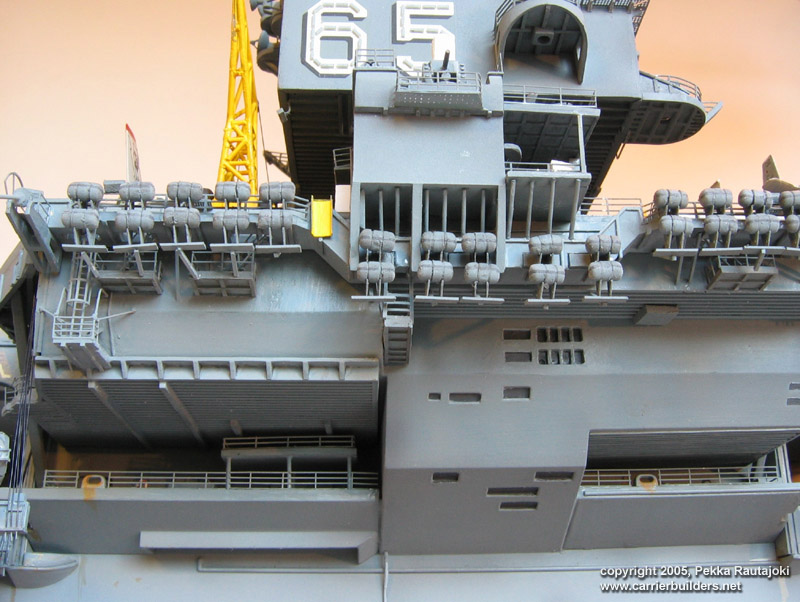
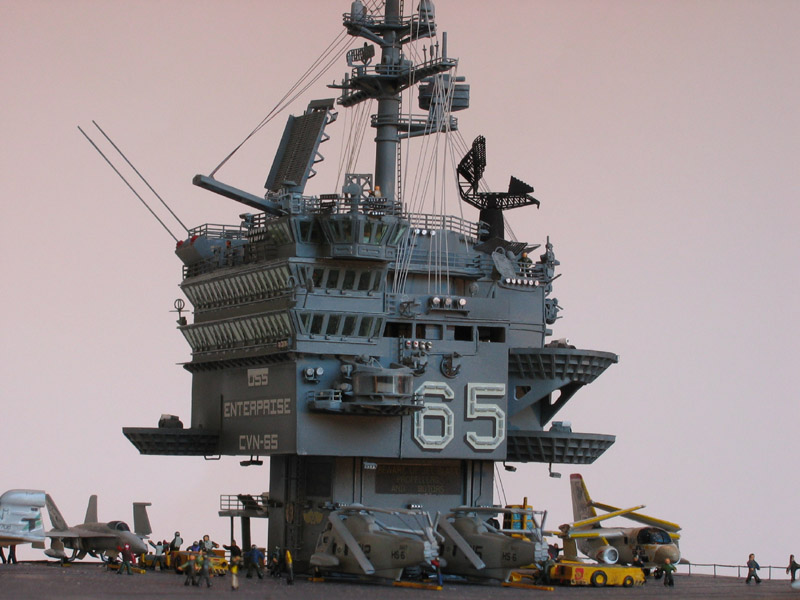
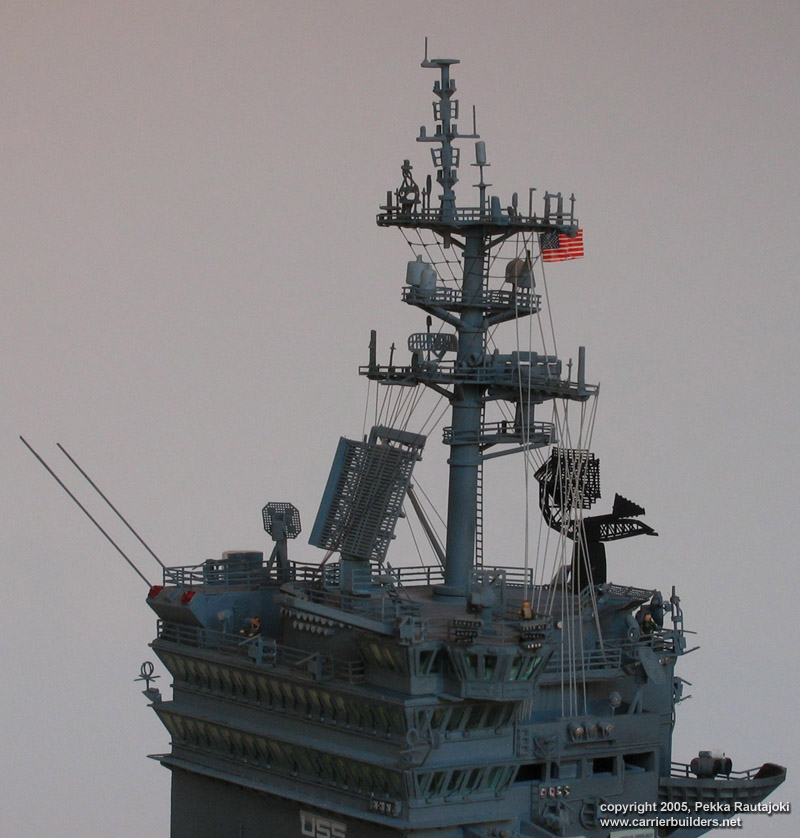
The island was built as a separate model, really. I added interiors for the bridges, green-tinted windows from clear styrene (frames painted grey), lots of floodlights, and windshield wipers (each comprising three parts). The mast got additional antennas based on a couple of great high resolution pictures from Airwing Enterprise book. I modified the structure on the highest two levels as well, but I don't think it is still fully correct.
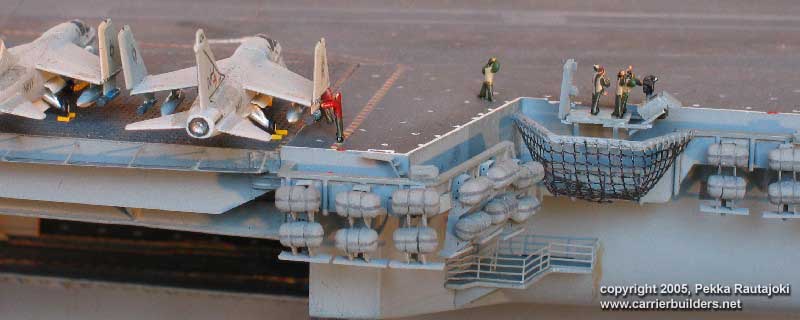
I needed to duplicate certain parts, so these I cast from resin. These included correct life raft canisters (with two grooves each instead of ridges - these I cast in two parts each, with one of the grooves having the seam), smaller sea sparrow launchers (Tamiya's are way oversized), new radars for sea sparrows, and other small parts.
And finally, 10 years after I started by gluing the bow section the the rest
of the hull, I glued the last of the life raft canisters in place, and declared the model finished (I actually said it out alound - "there, now it
is finished" and it really felt strange). During the 10 years many things changed - better etch parts came along (I did order the improved GMM set
along the way), even the elevator gratings are now available, as are the etched hangar deck parts from Tom's Modelworks. All the aircraft details one
could want are now commercially available, as are the decals. If someone would produce the life raft canisters and their racks, all the
scratchbuilding would be reduced greatly. In hindsight, putting all that work on the model was worth it if you look at the pictures, but it sure
wasn't fun all the time. It is a drag if you have to throw away most of the kit parts, because they are wrong, there are too few of them and
instructions say they should be glued to a place where they do not belong. I doubt I will ever build another model of this magnitude with reference
books. I can add photoetch parts, no problems with that, and even scratchbuilt some really major parts missing, but to strive for this kind of
accuracy - probably not. This hobby should be fun, after all! The Studio Images were taken by Hannu Piirainen at Studio Amanda
Discuss about this model in the Forum!
Photos and text © 2005 by Pekka Rautajoki Sunday, March 20, 2005 |